Soda Can Earrings
Welcome to 2015! Which everyone knows will be the year of funky fresh fashion according to Back to the Future II, right?

Maybe not, but I recently saw a photo on Pinterest of a pair of earrings fashioned from an Arizona Tea can. The cherry blossom design is quite pretty. But I of course thought to myself, “I can do that.”
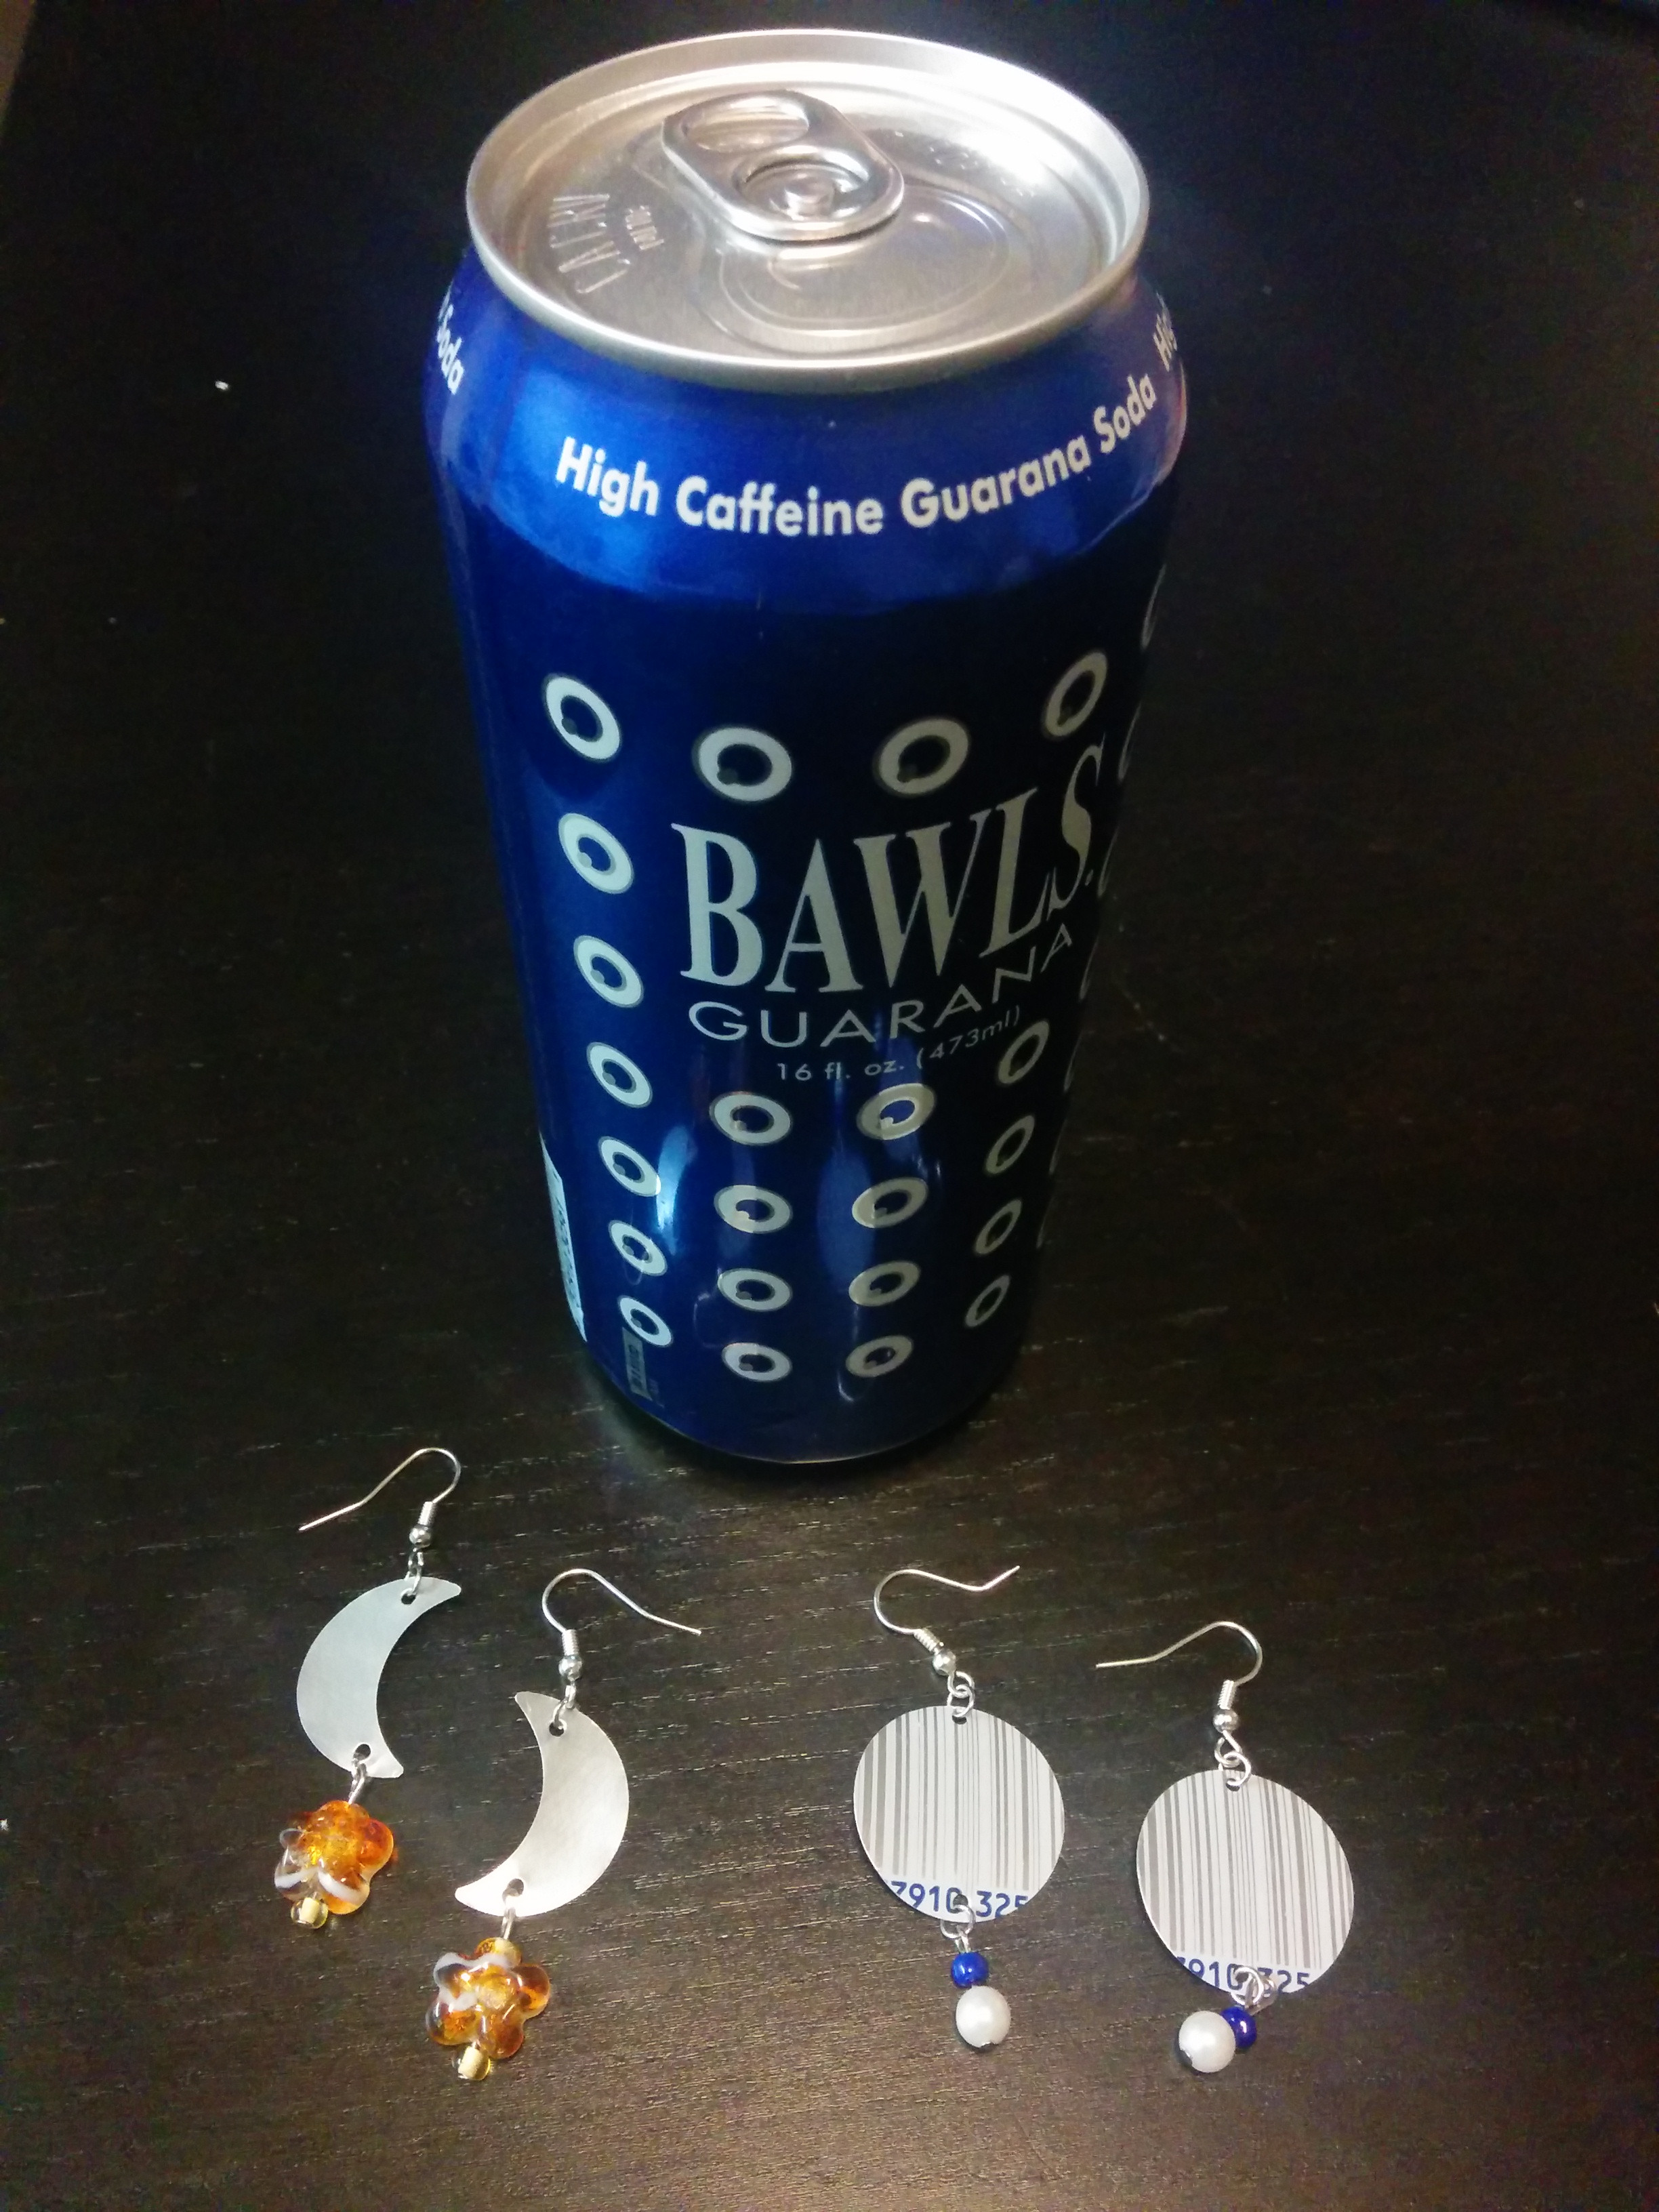
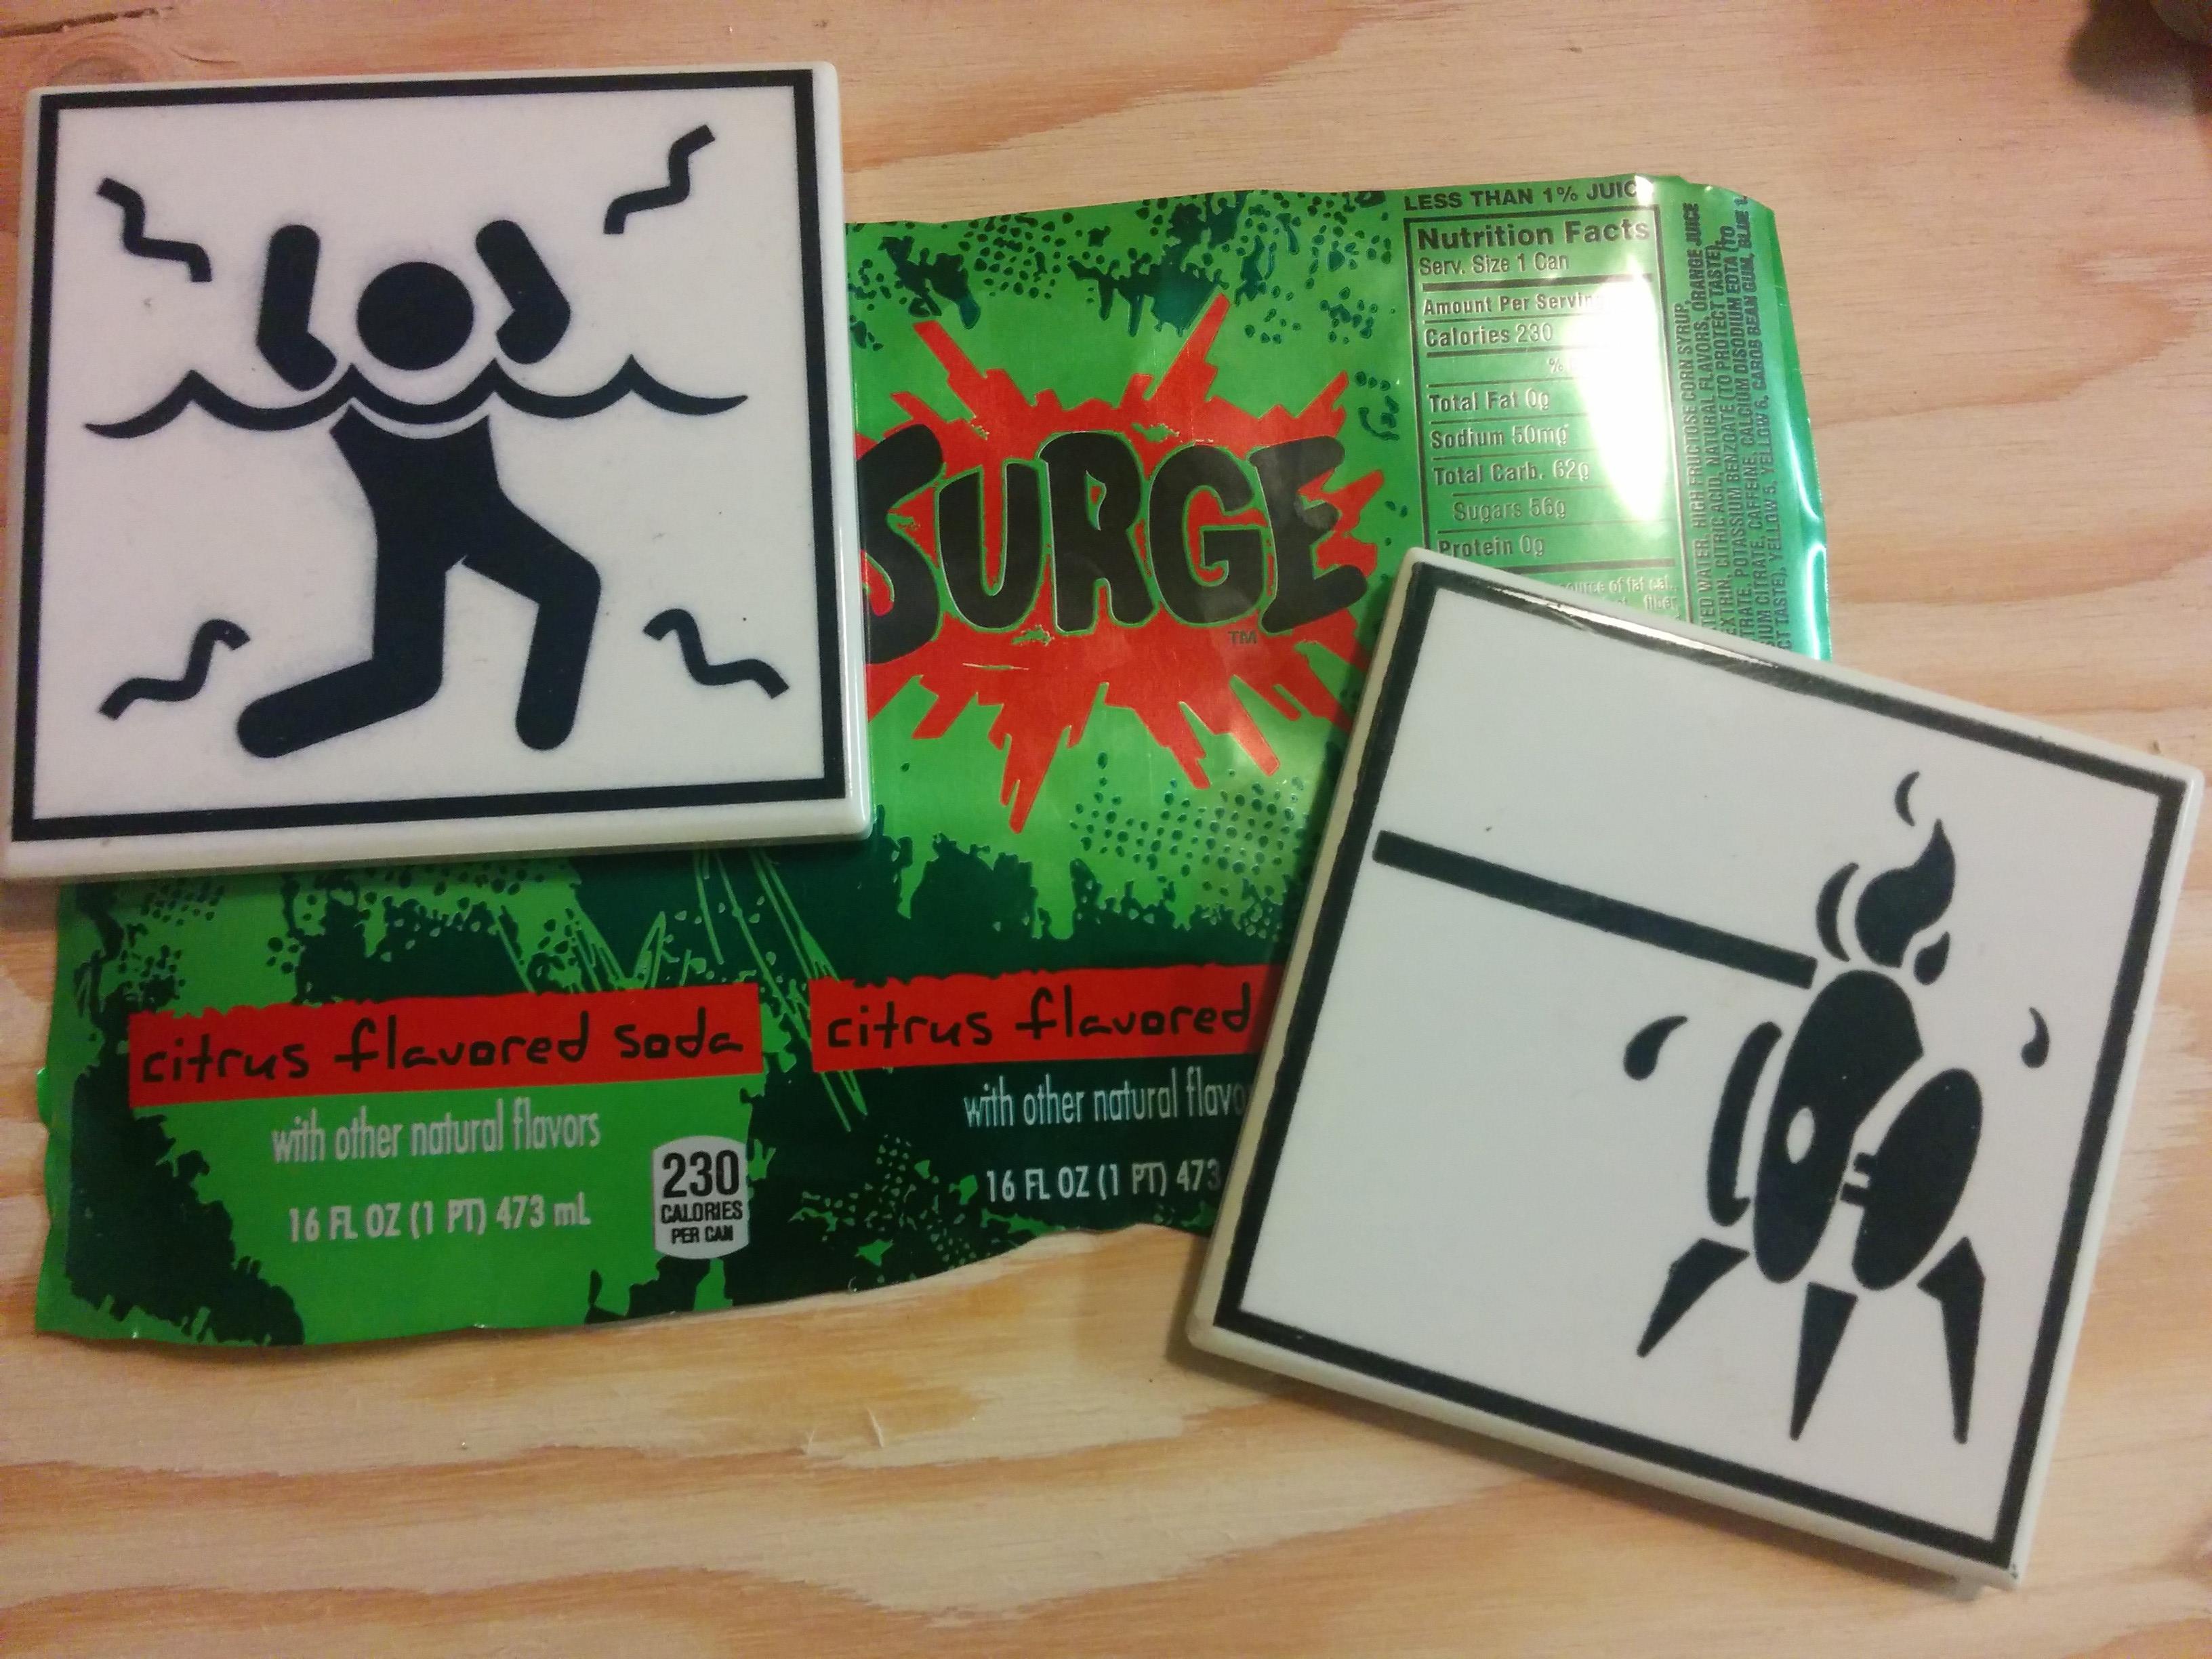
The only soda cans in my home happen to be Surge and Bawls. The nerdiest, techiest of drinks.
I got my tools out and started cutting open the cans and cutting out designs using (so far) 2 techniques. I made 3 different types of earrings.

I took some tutorial pictures showing the first pair I made, so you can make your own!
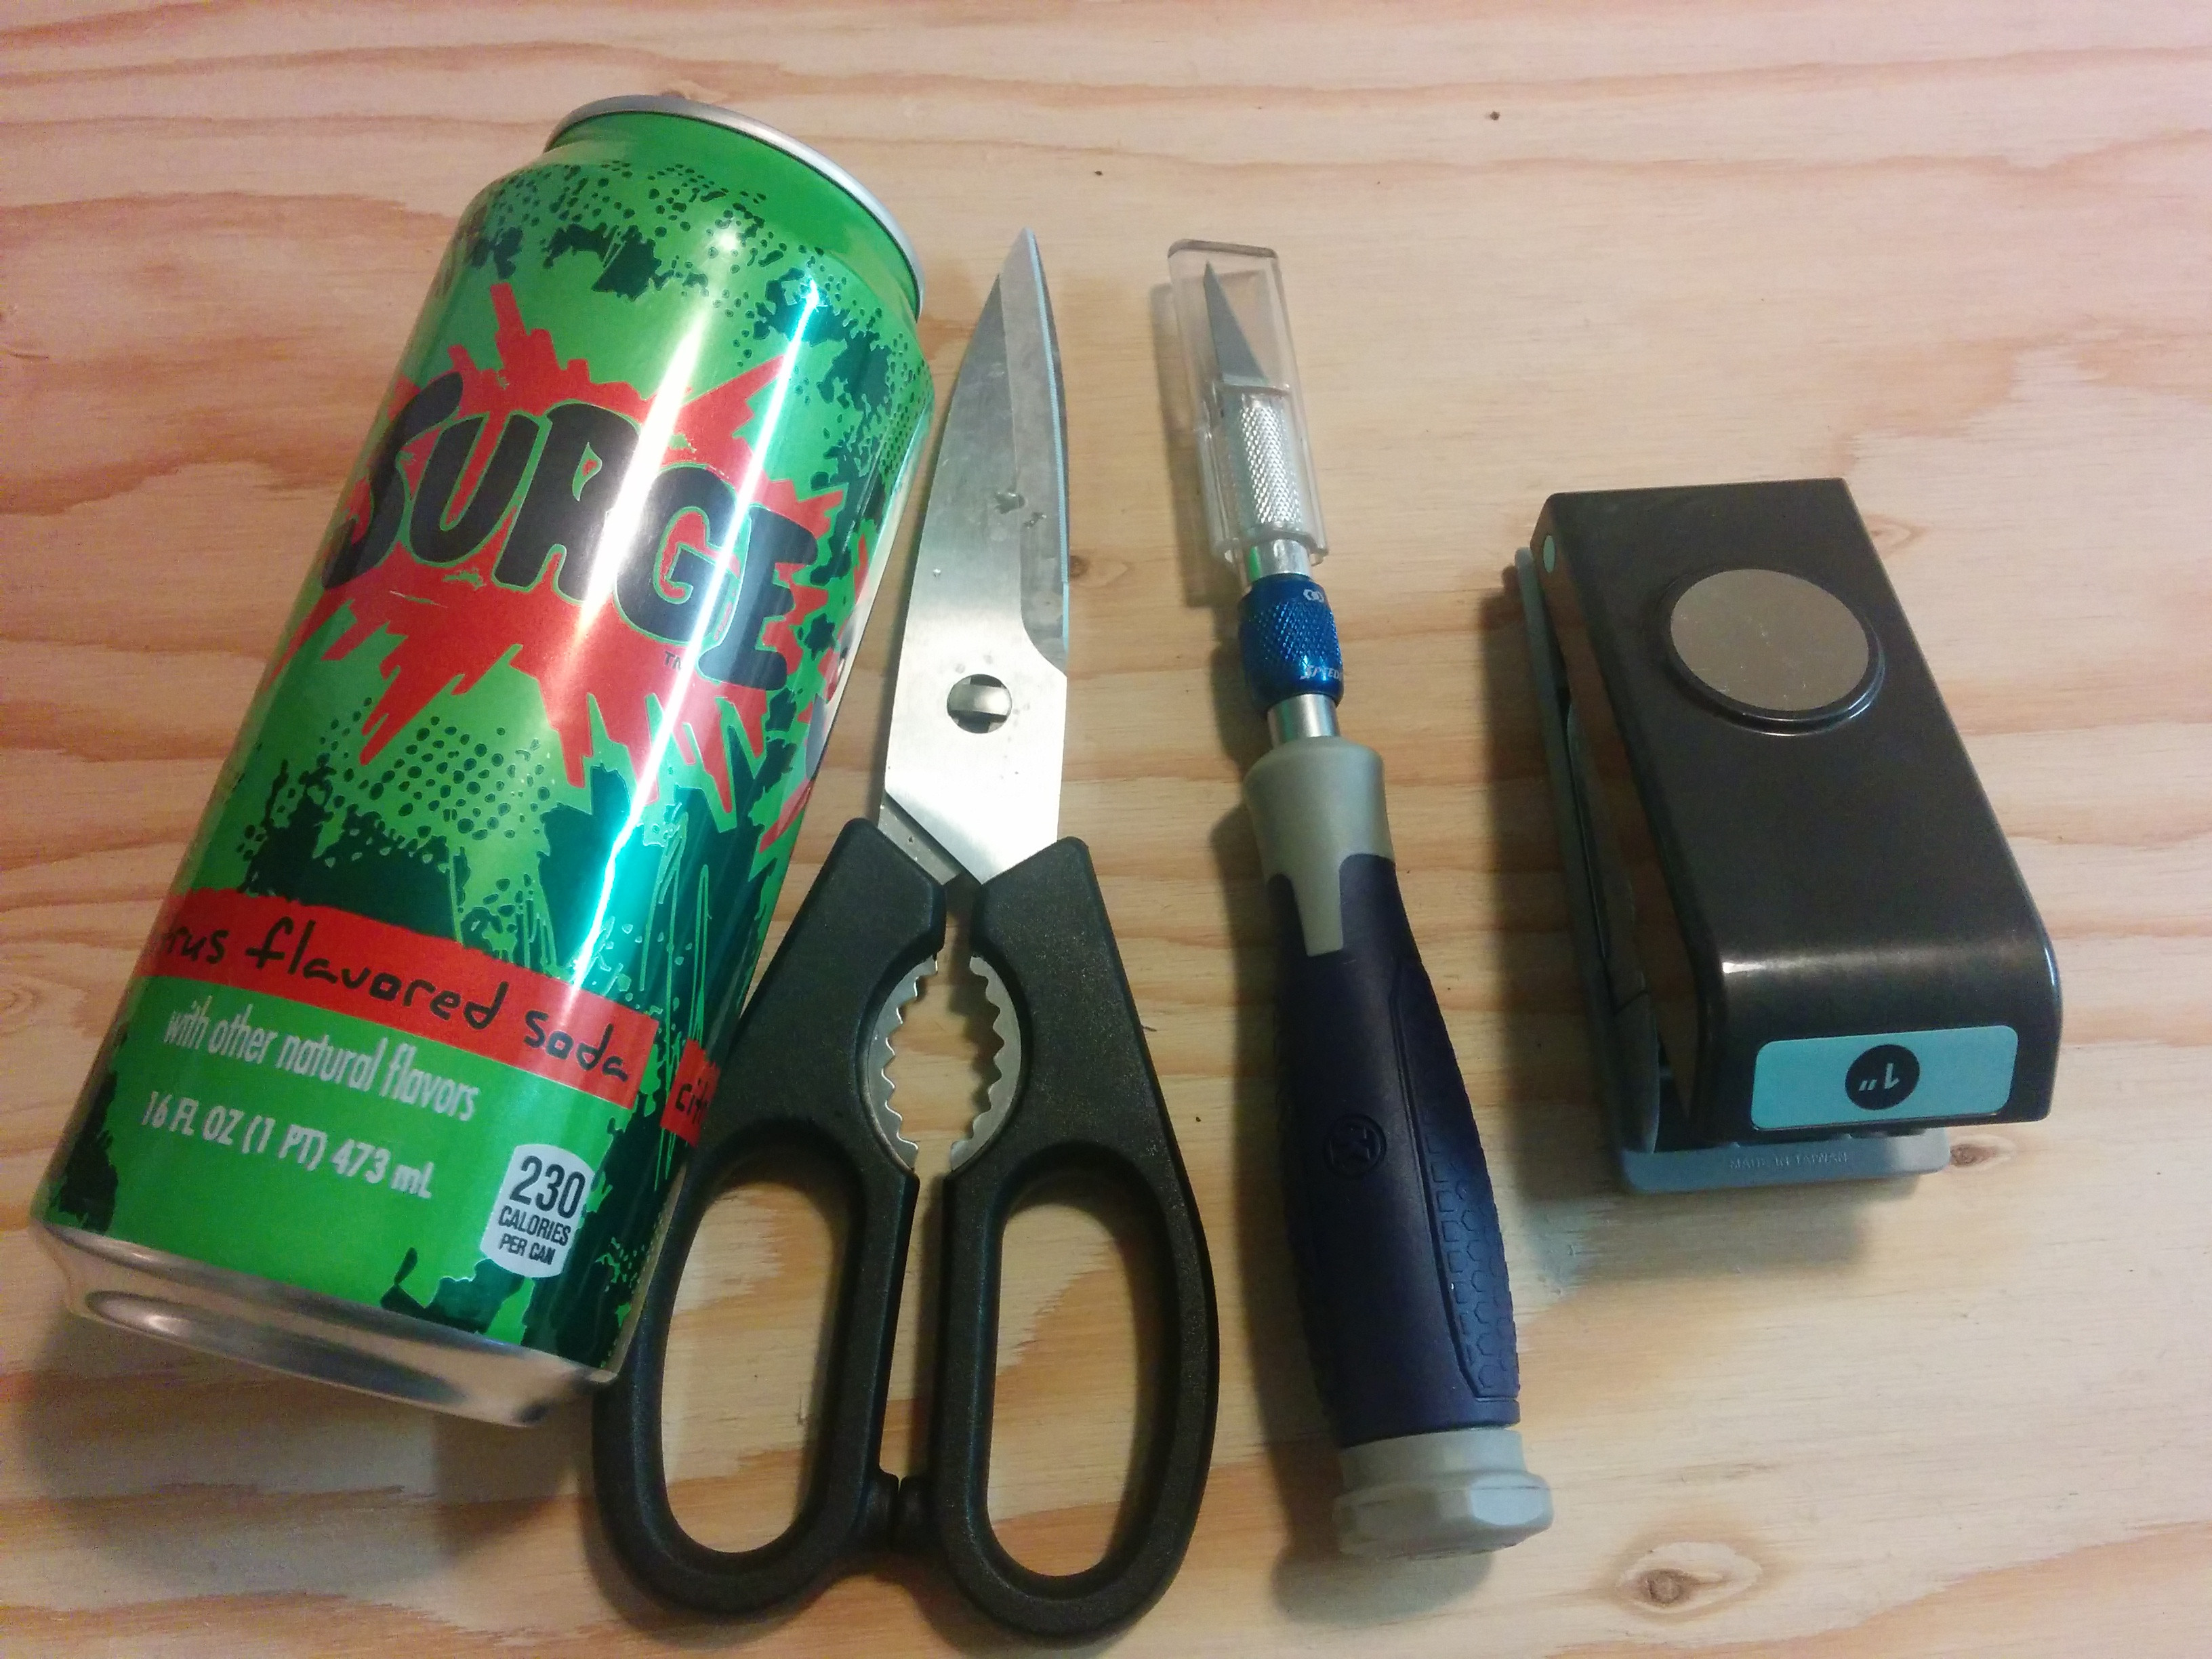
You’ll need:
- a soda can
- sharp scissors (I used kitchen shears)
- an exacto knife
- a design hole puncher (The only one I have right now is a 1” circle)
- a small hole puncher (mine is ‘bead landing’ brand)
- a couple jewelry tools (Probably also bead landing. They have everything.)
- an emery board (or sand paper)
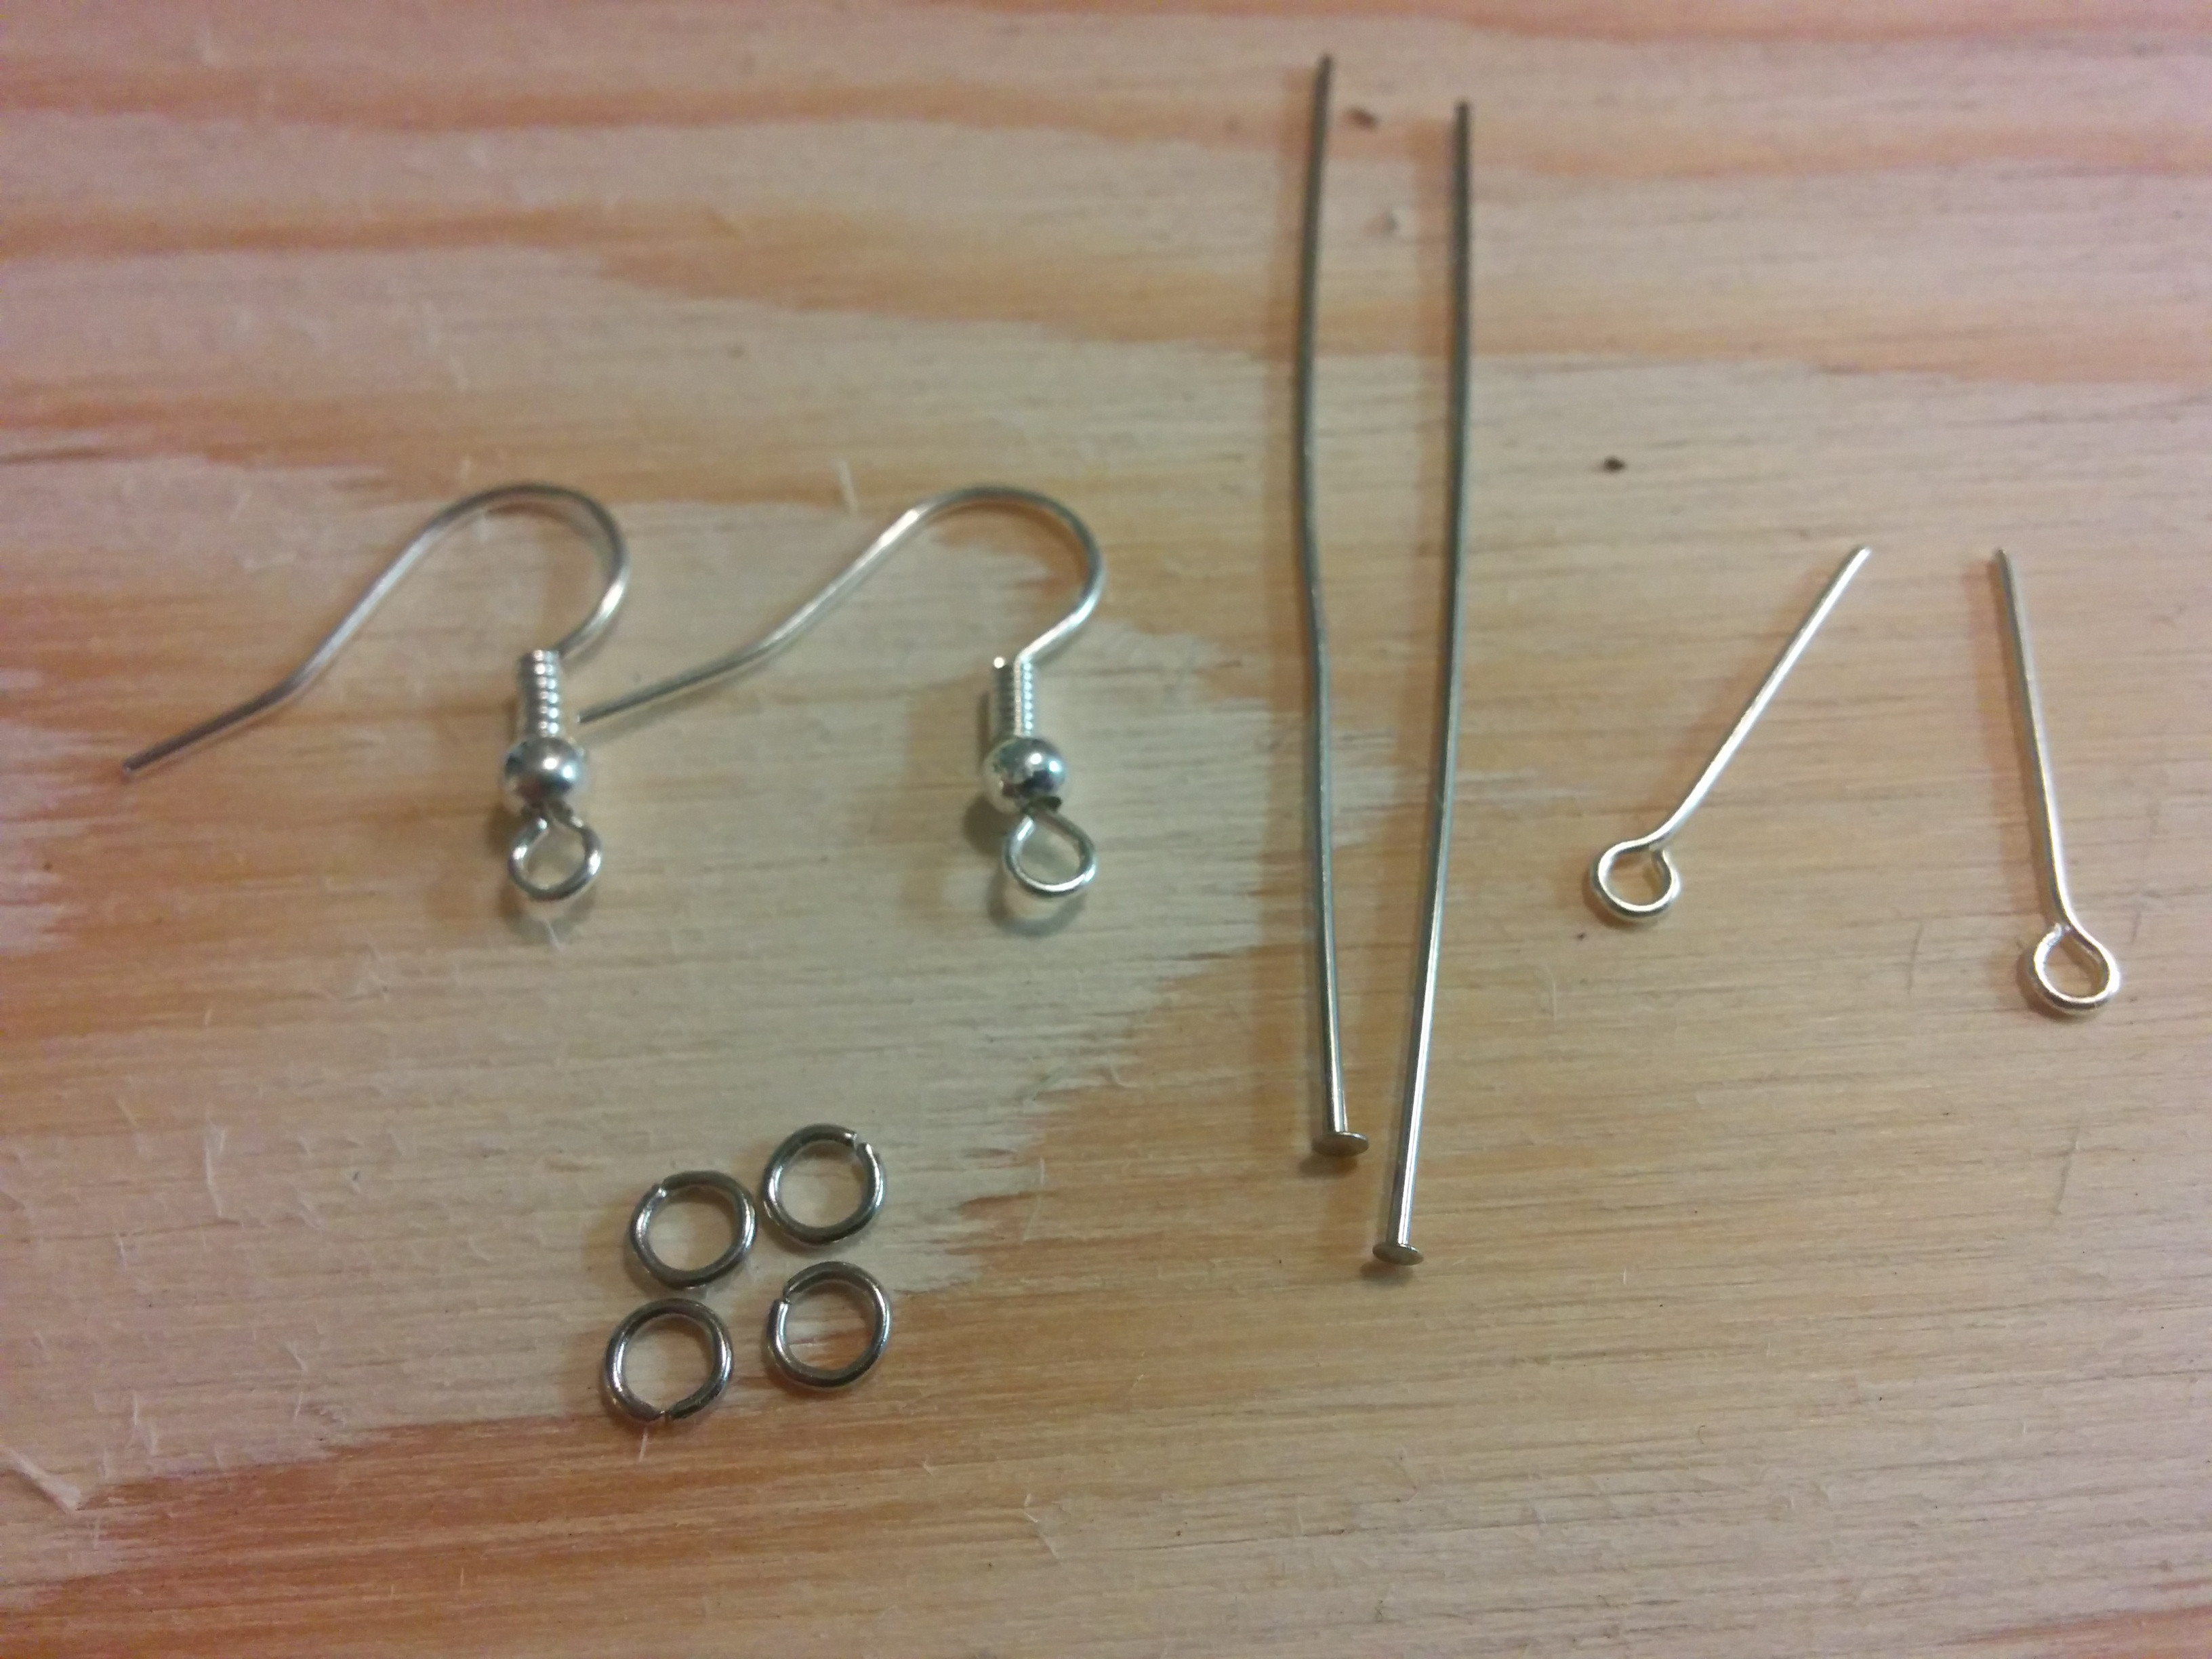
- some earring parts
- and a surface you’re ok with cutting into. (I used some plywood)

First step is to cut apart the can. Be careful because the can will most likely become very jagged. Cut one end off, then make a slit down the can away from any parts you might make into an earring, then cut the other end off. Cut off any jagged pieces.

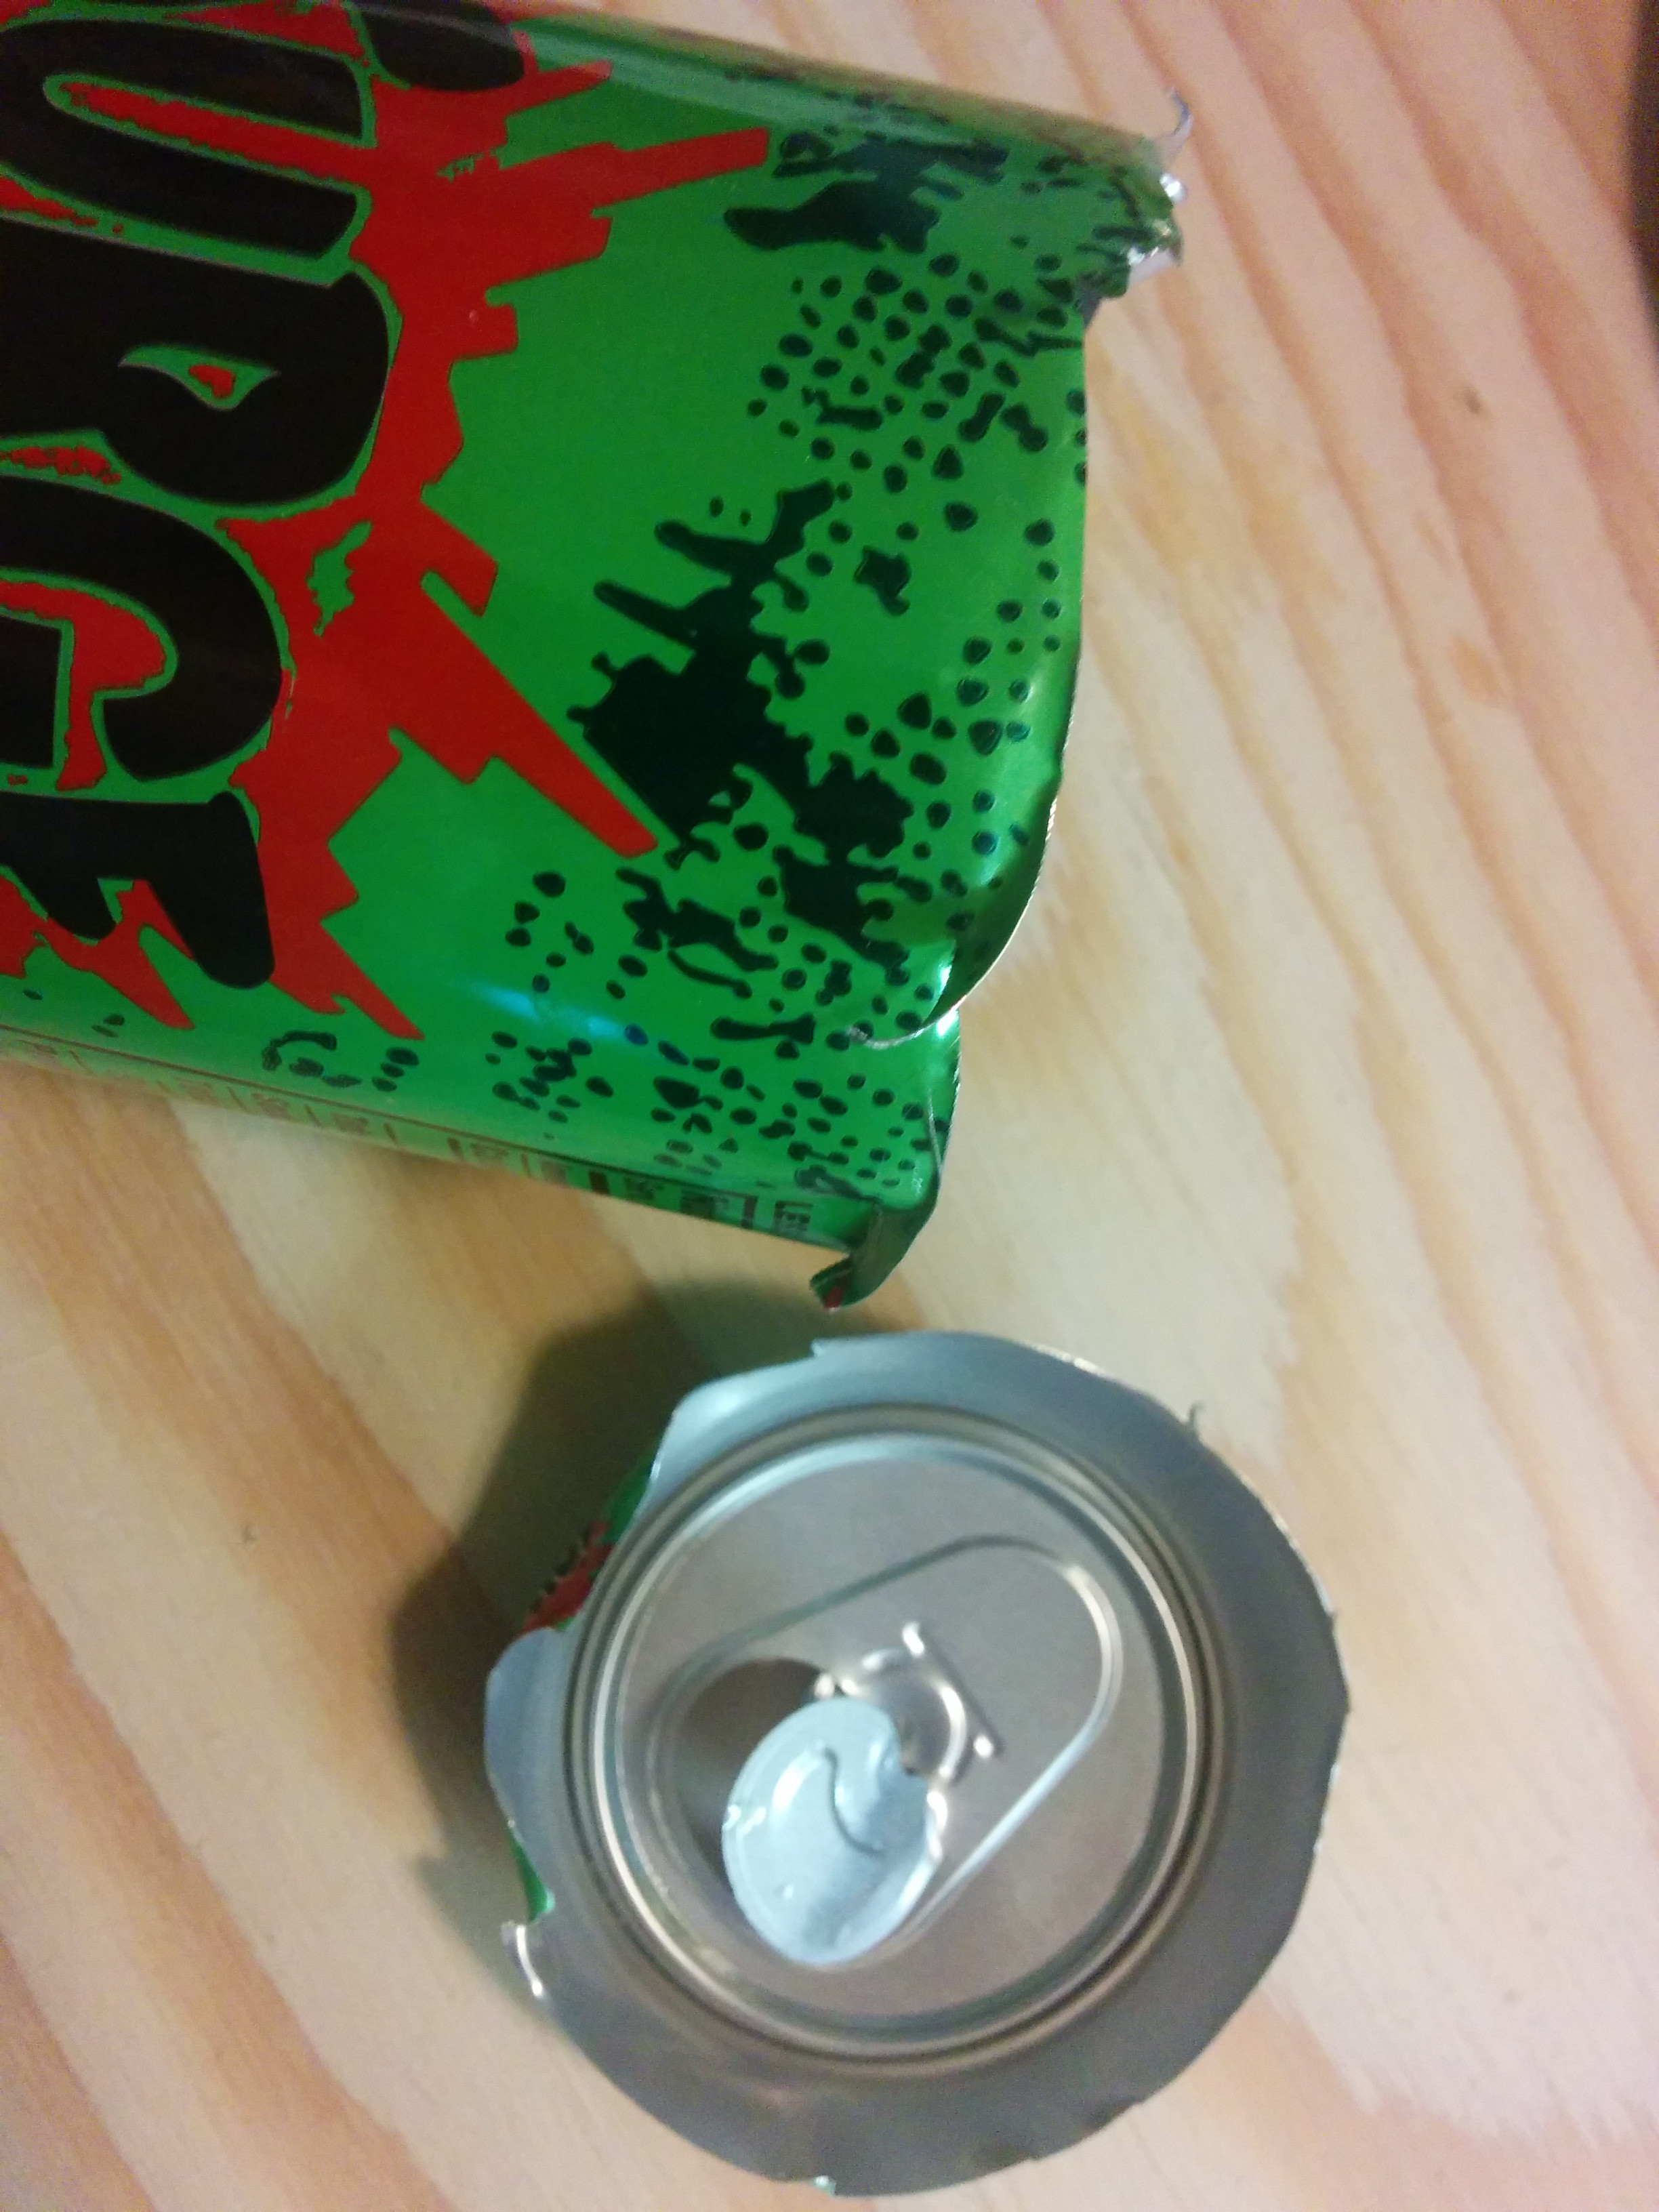
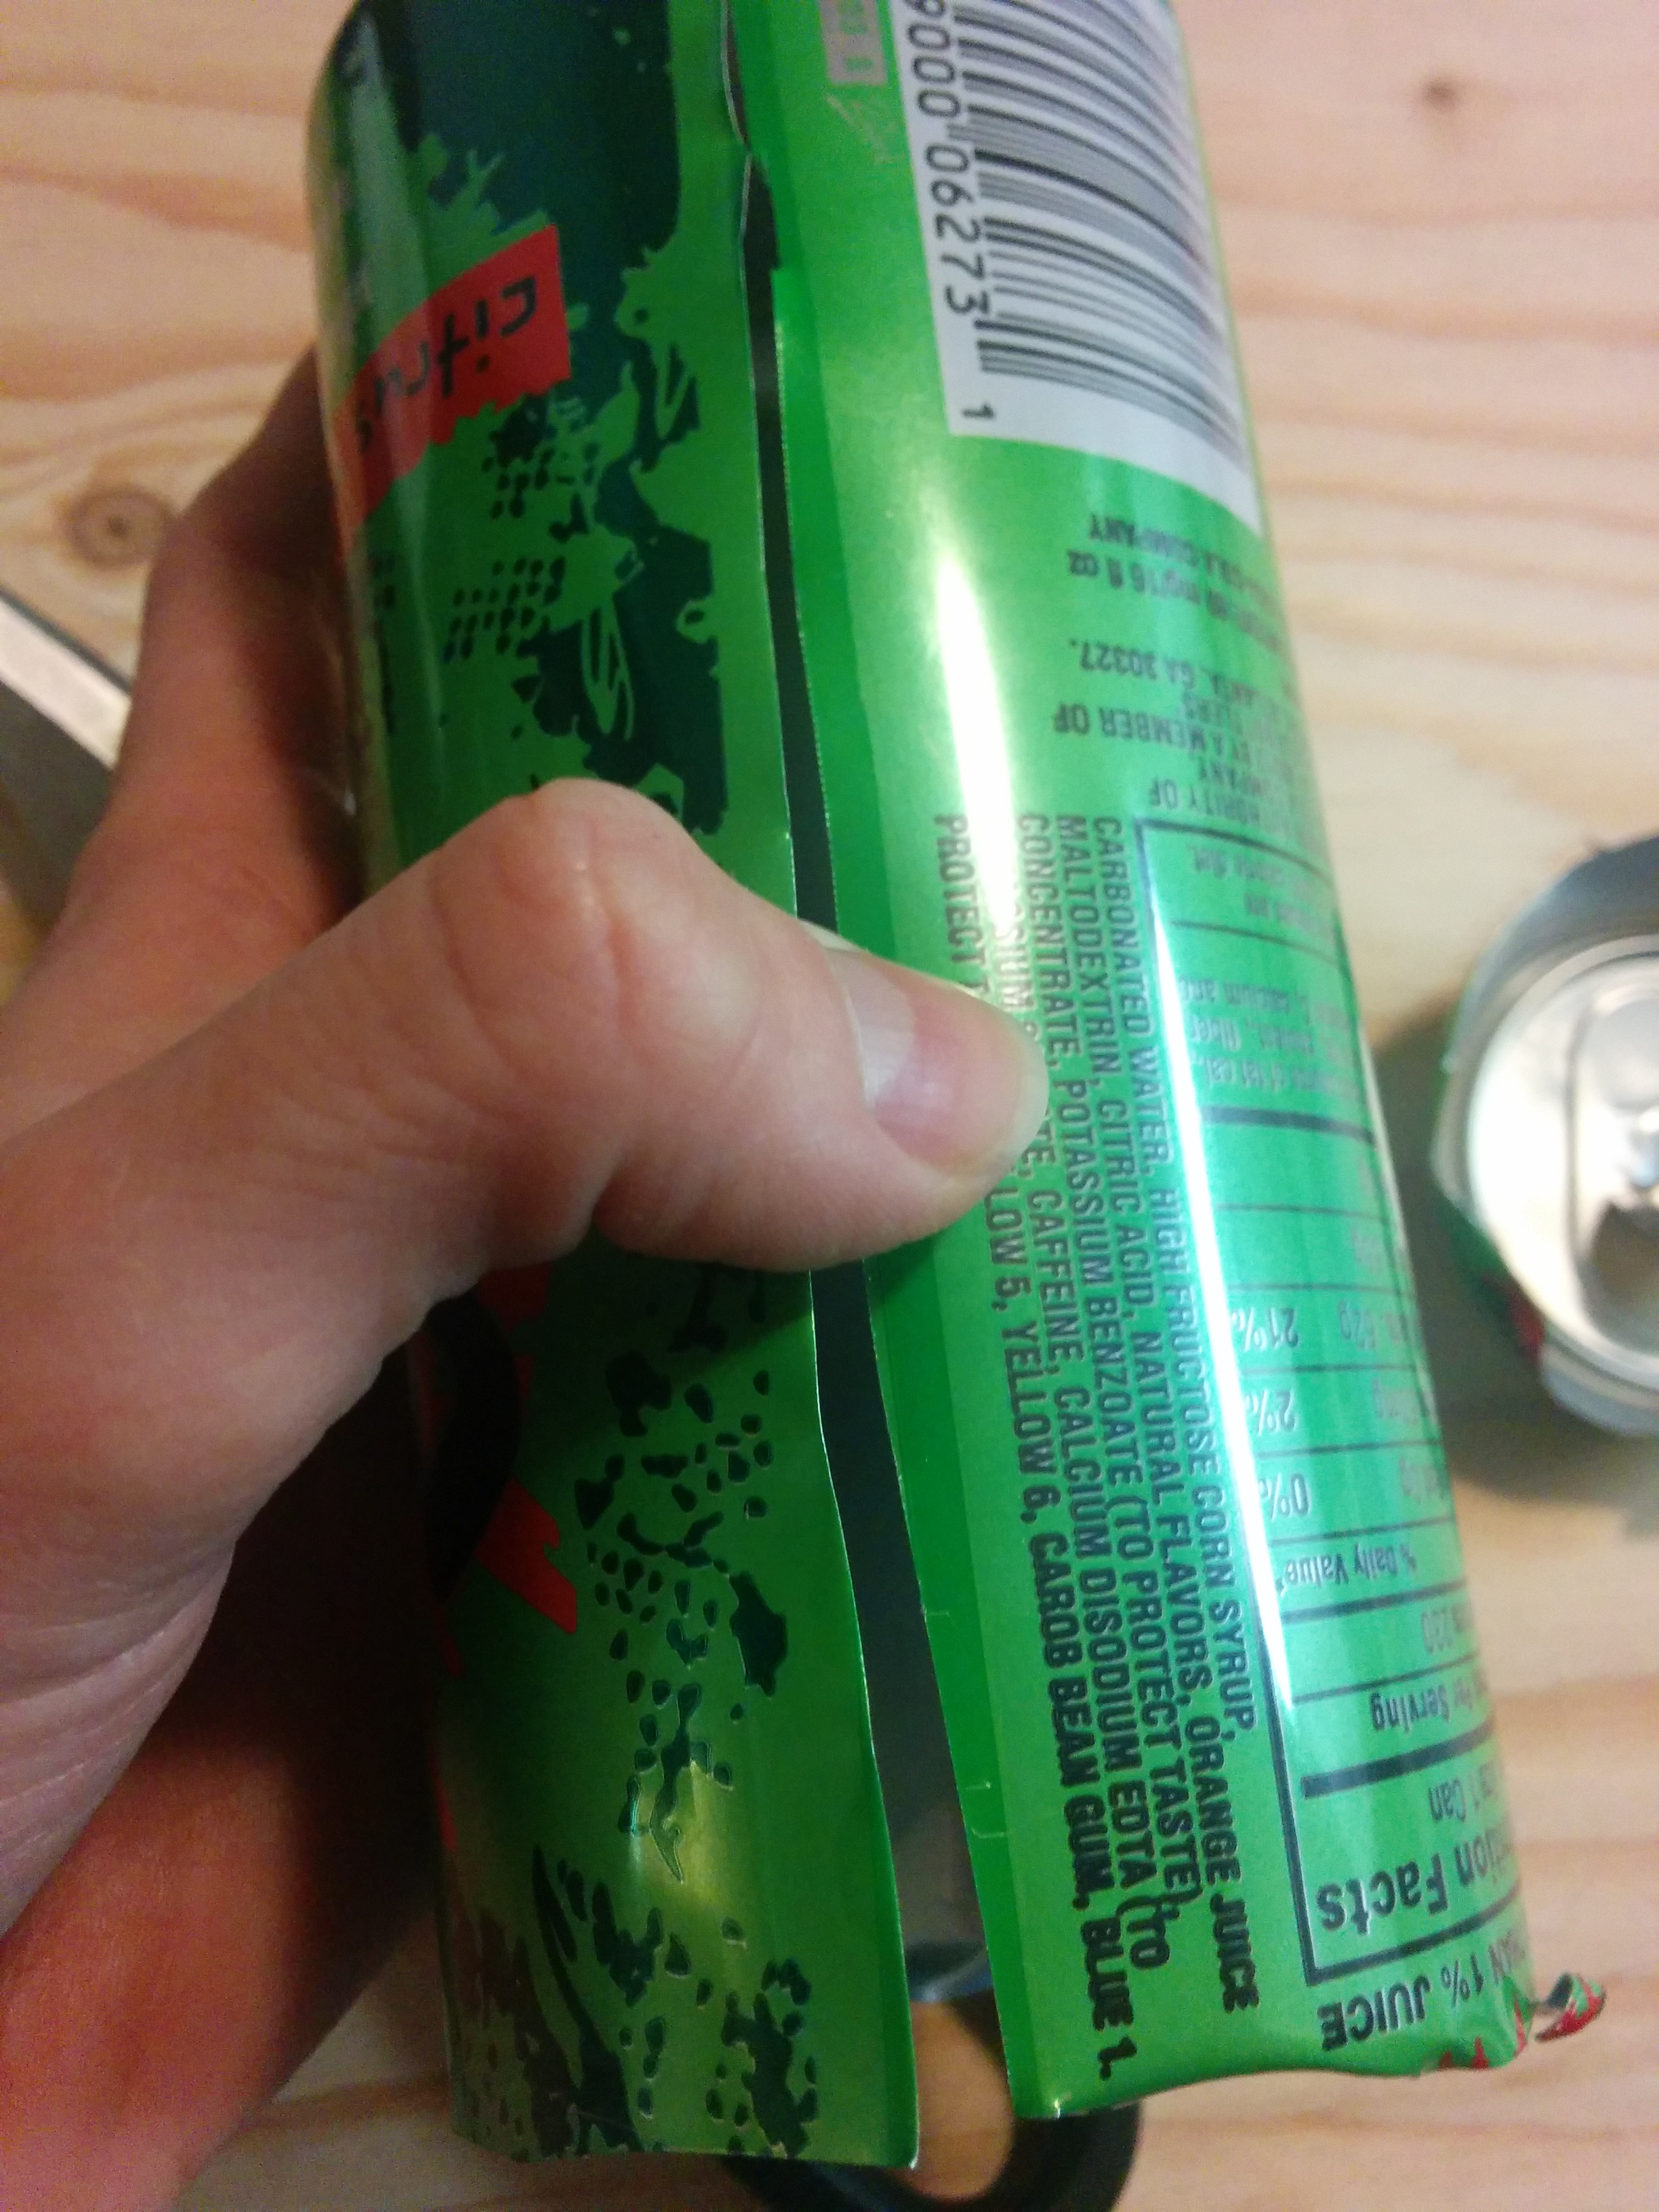
You might want to find something heavy to hold down the can as it will keep its roundedness.
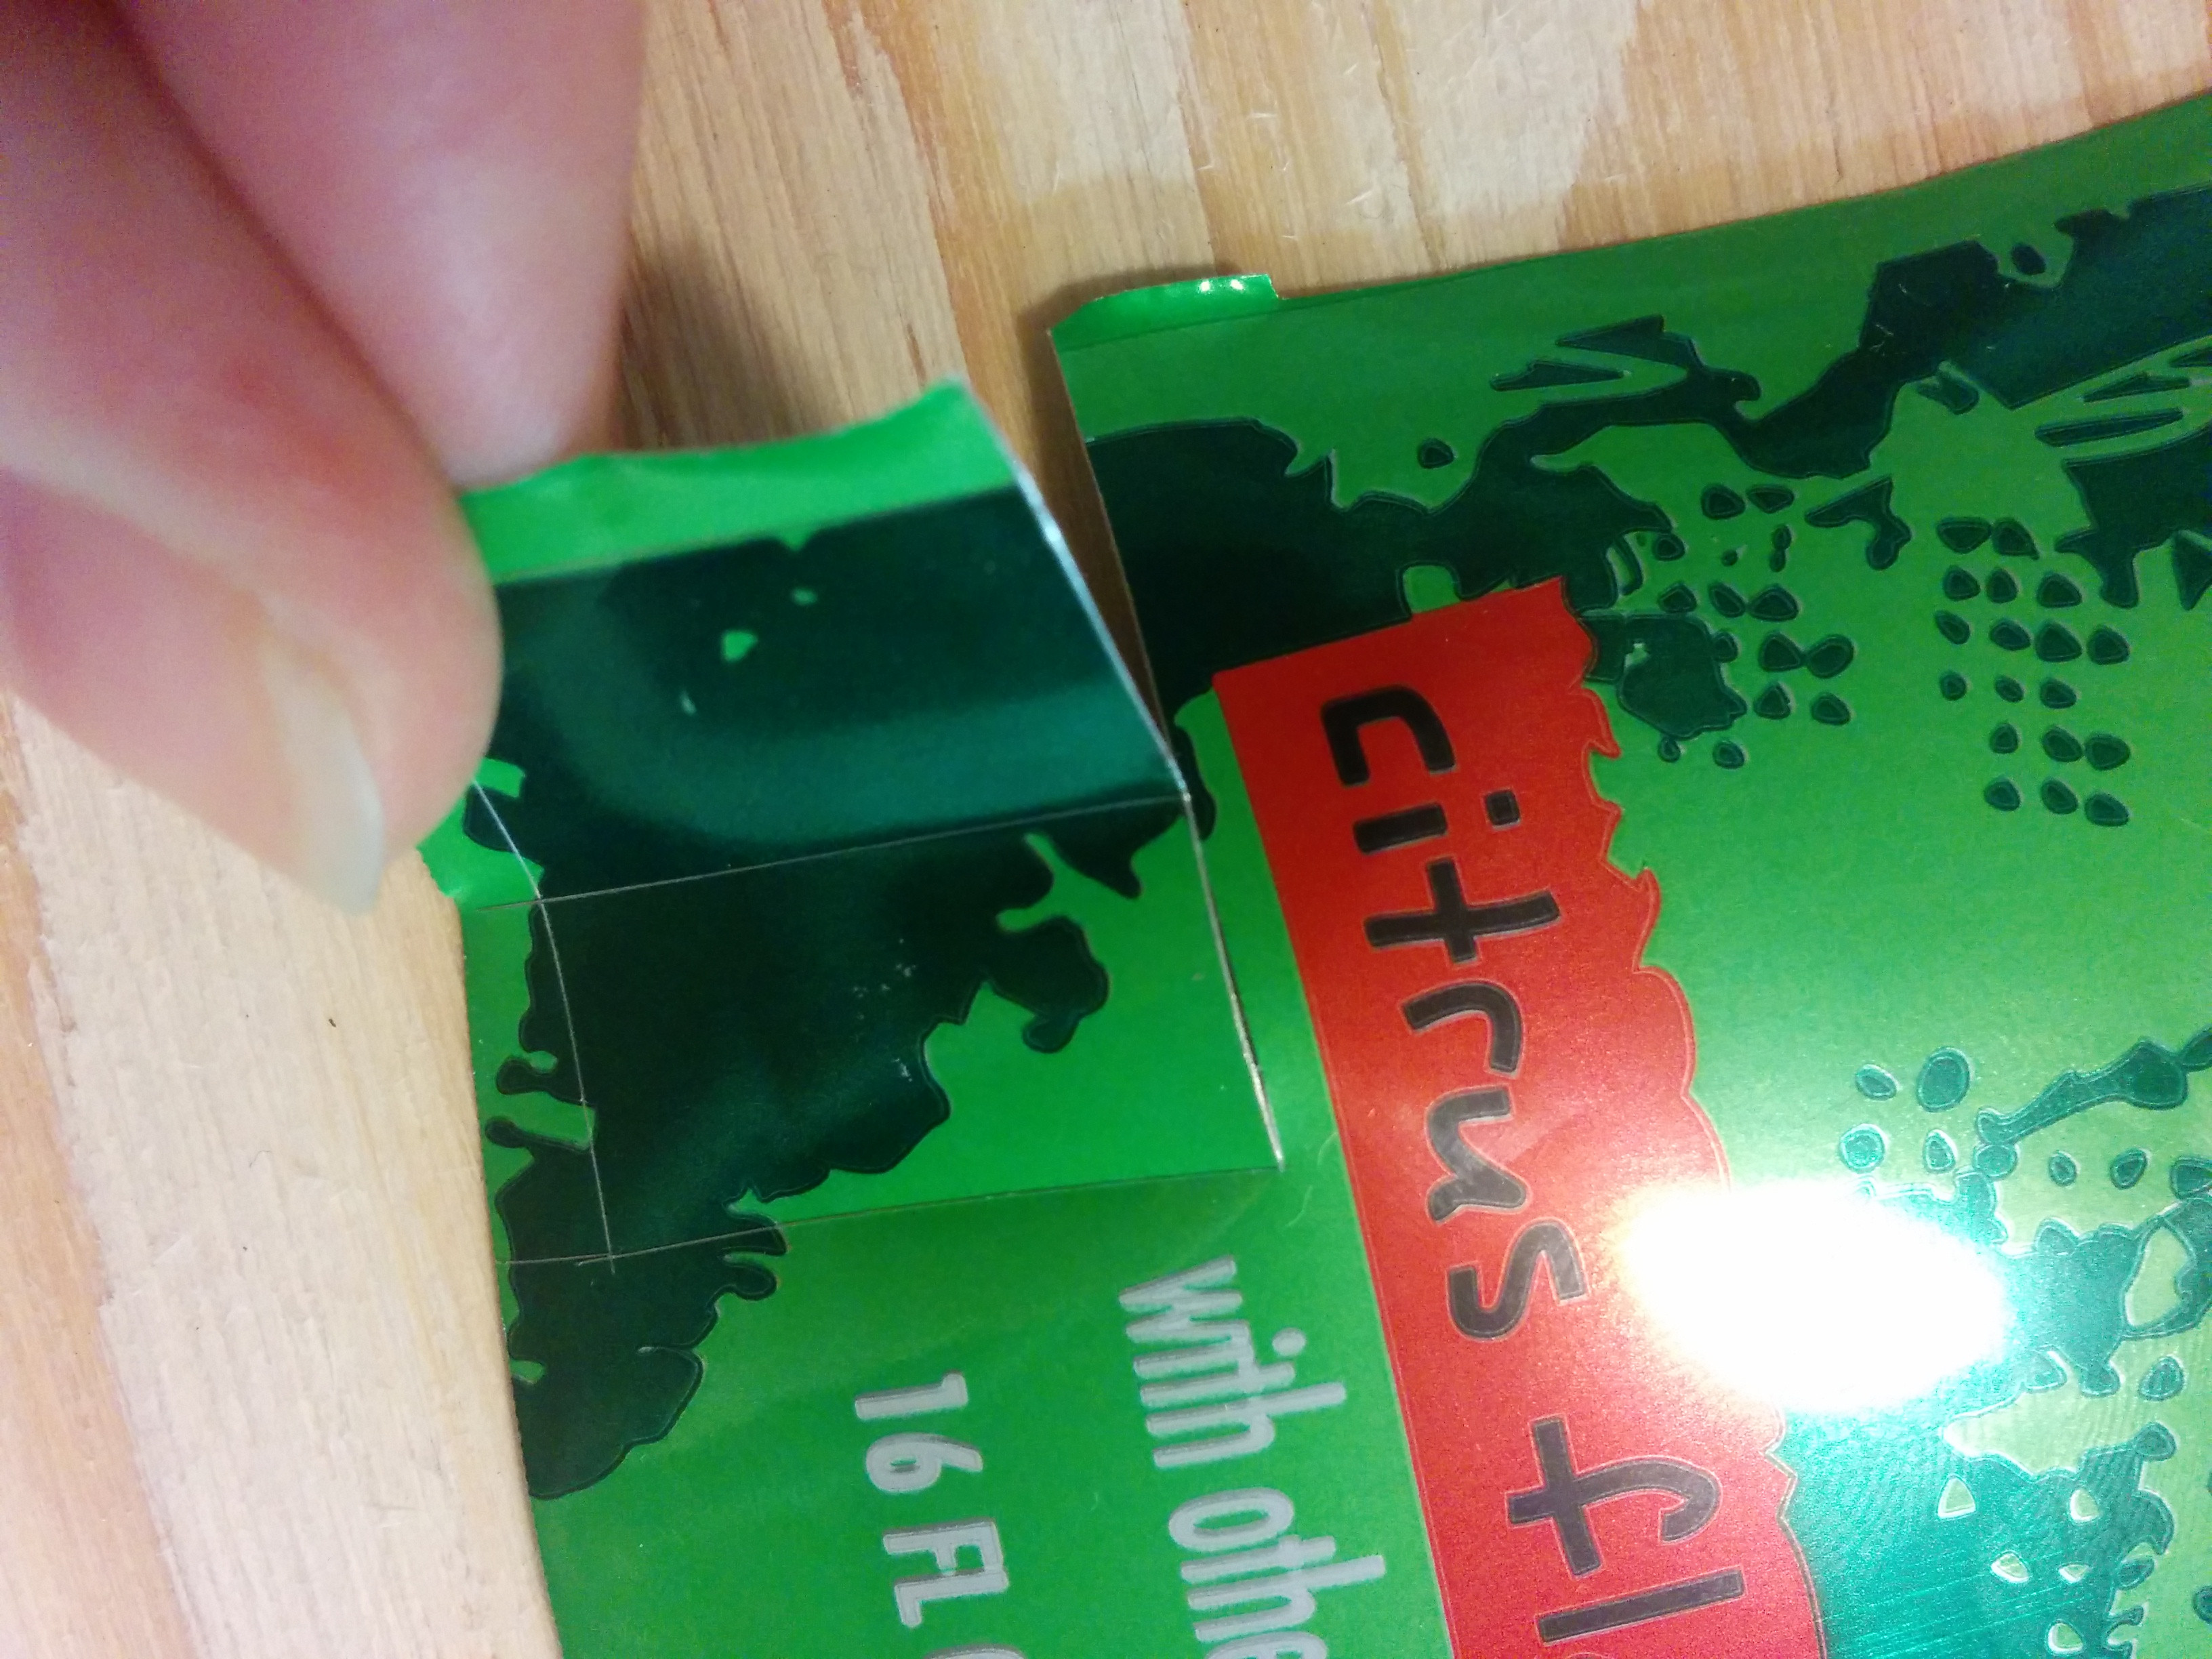
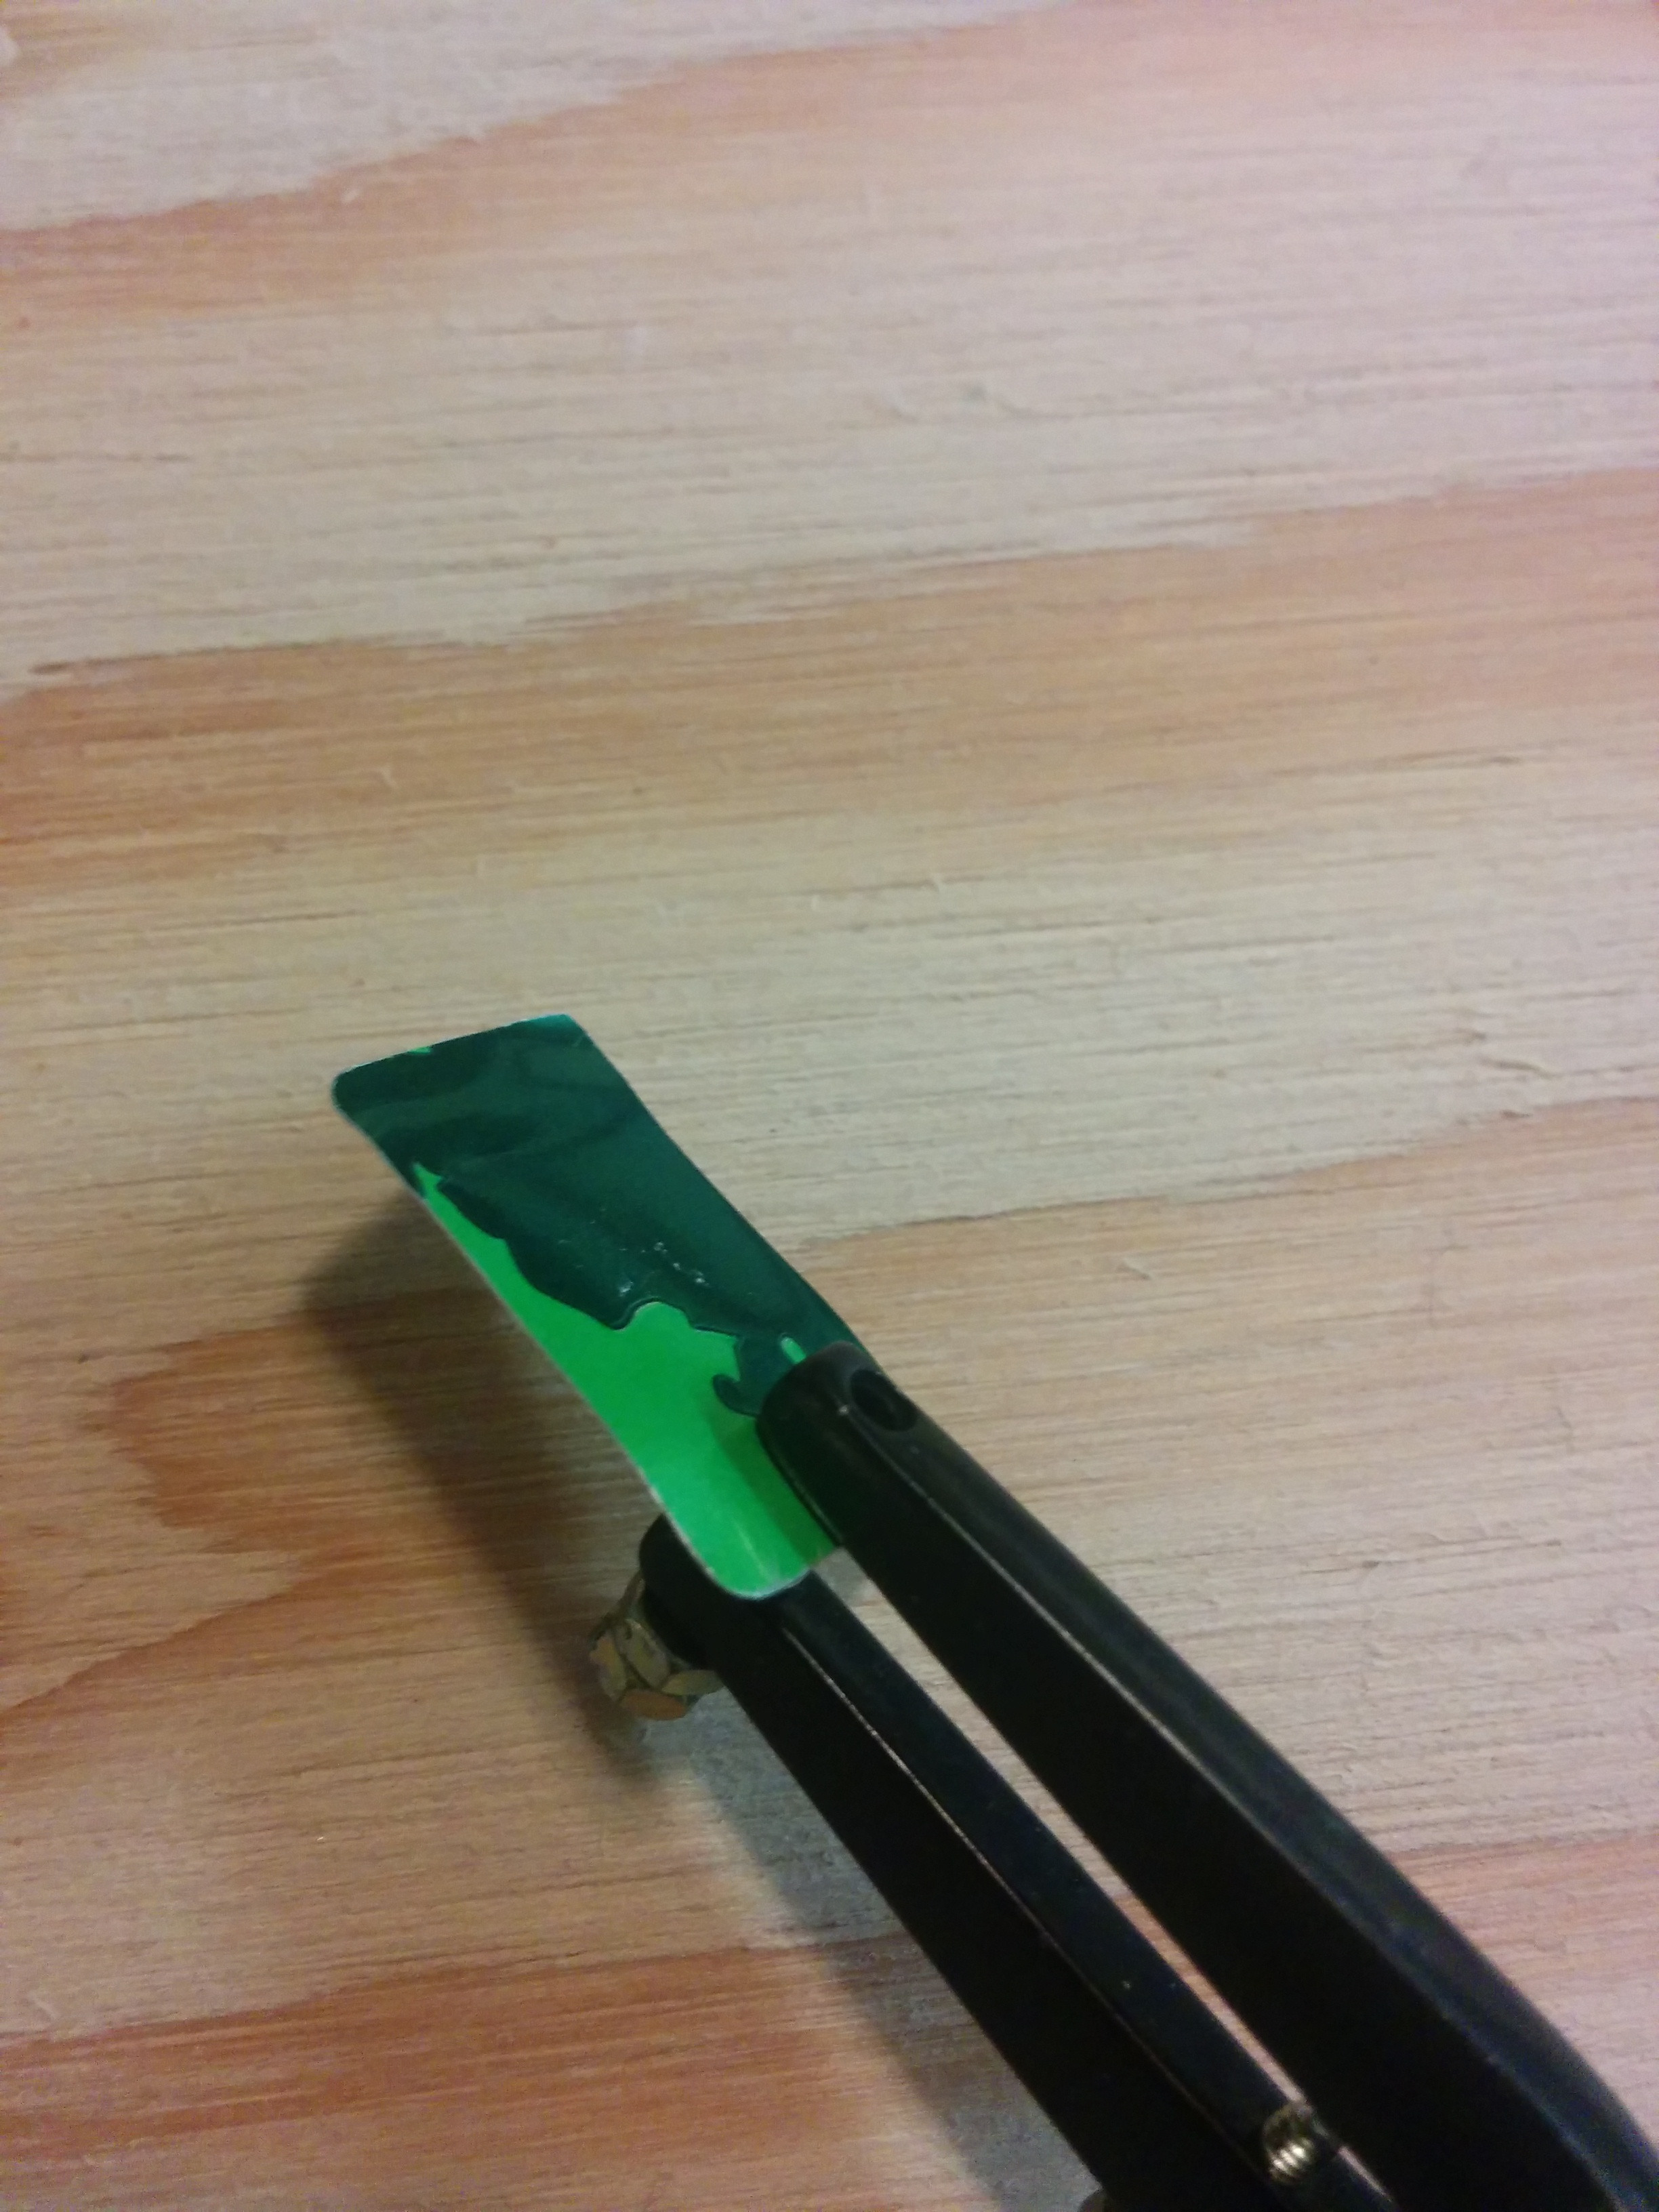
Next you want to cut out a design for the earring. I used the exacto knife to cut out some rectangles. I haven’t gotten adventurous yet. For the Bawls can I used the 1” hole punch for both earrings.
Once you slice you can usually just peel the aluminum apart. You don’t necessarily have to cut all the way through with the knife.
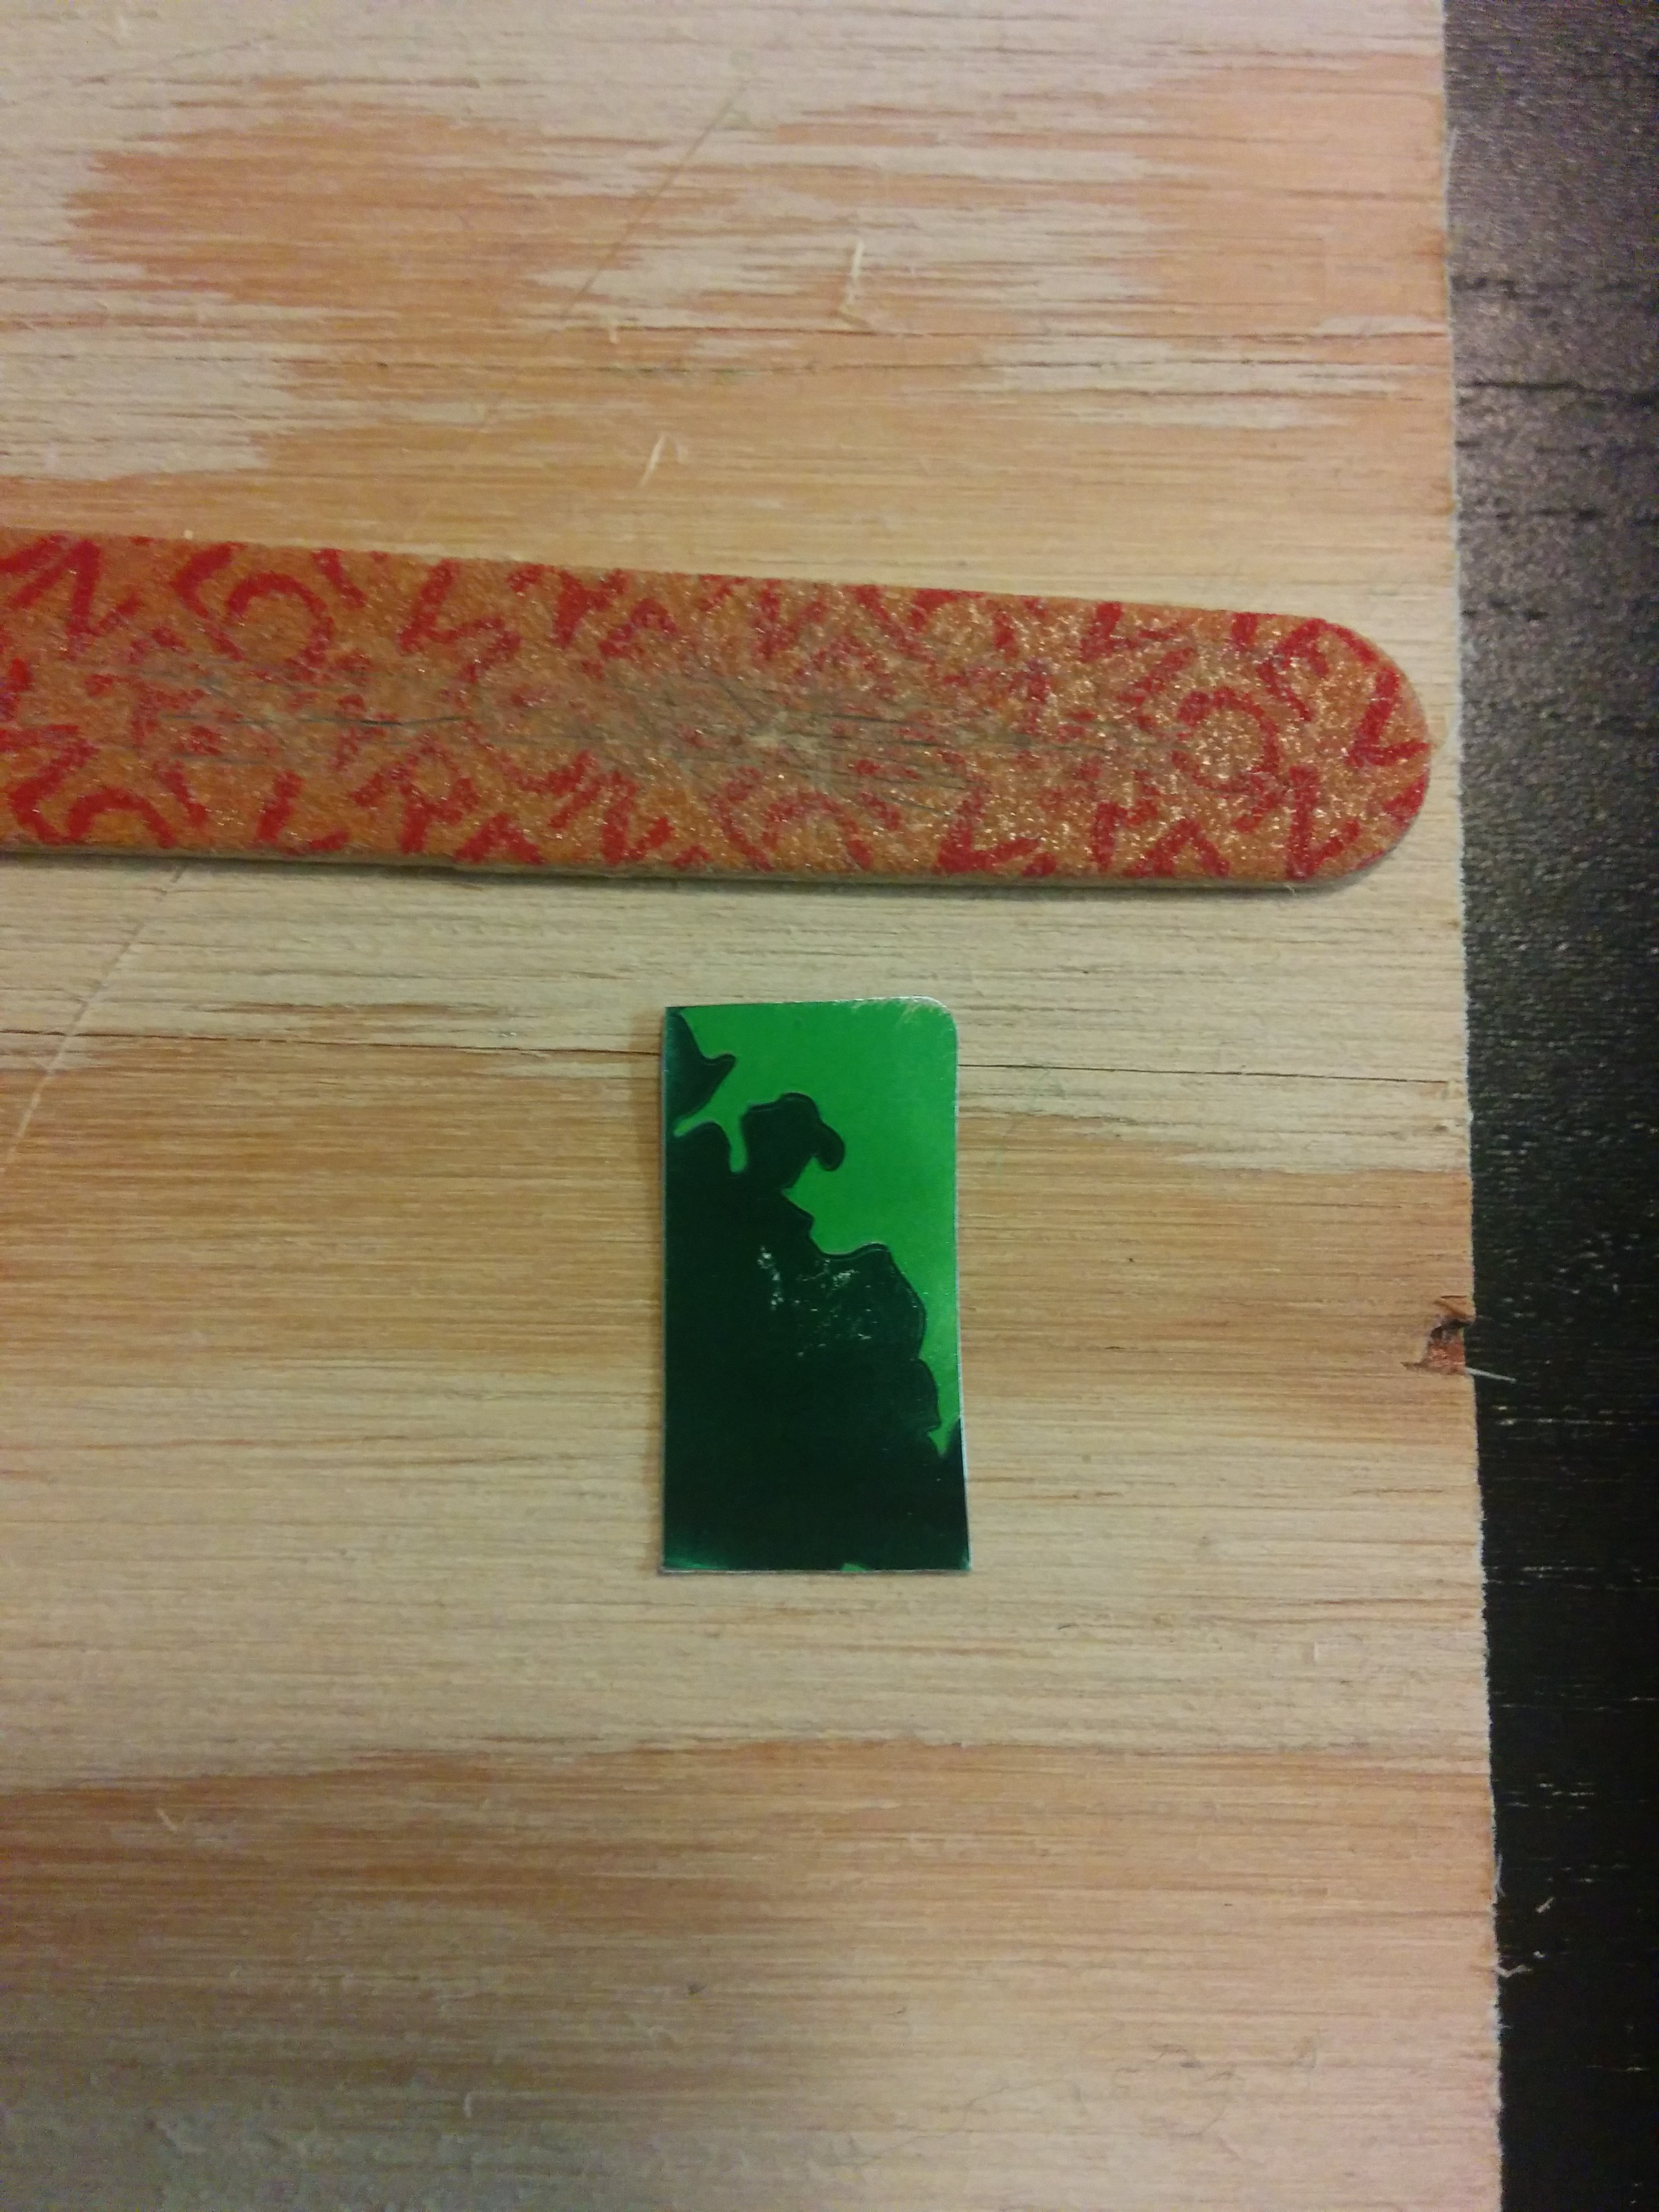
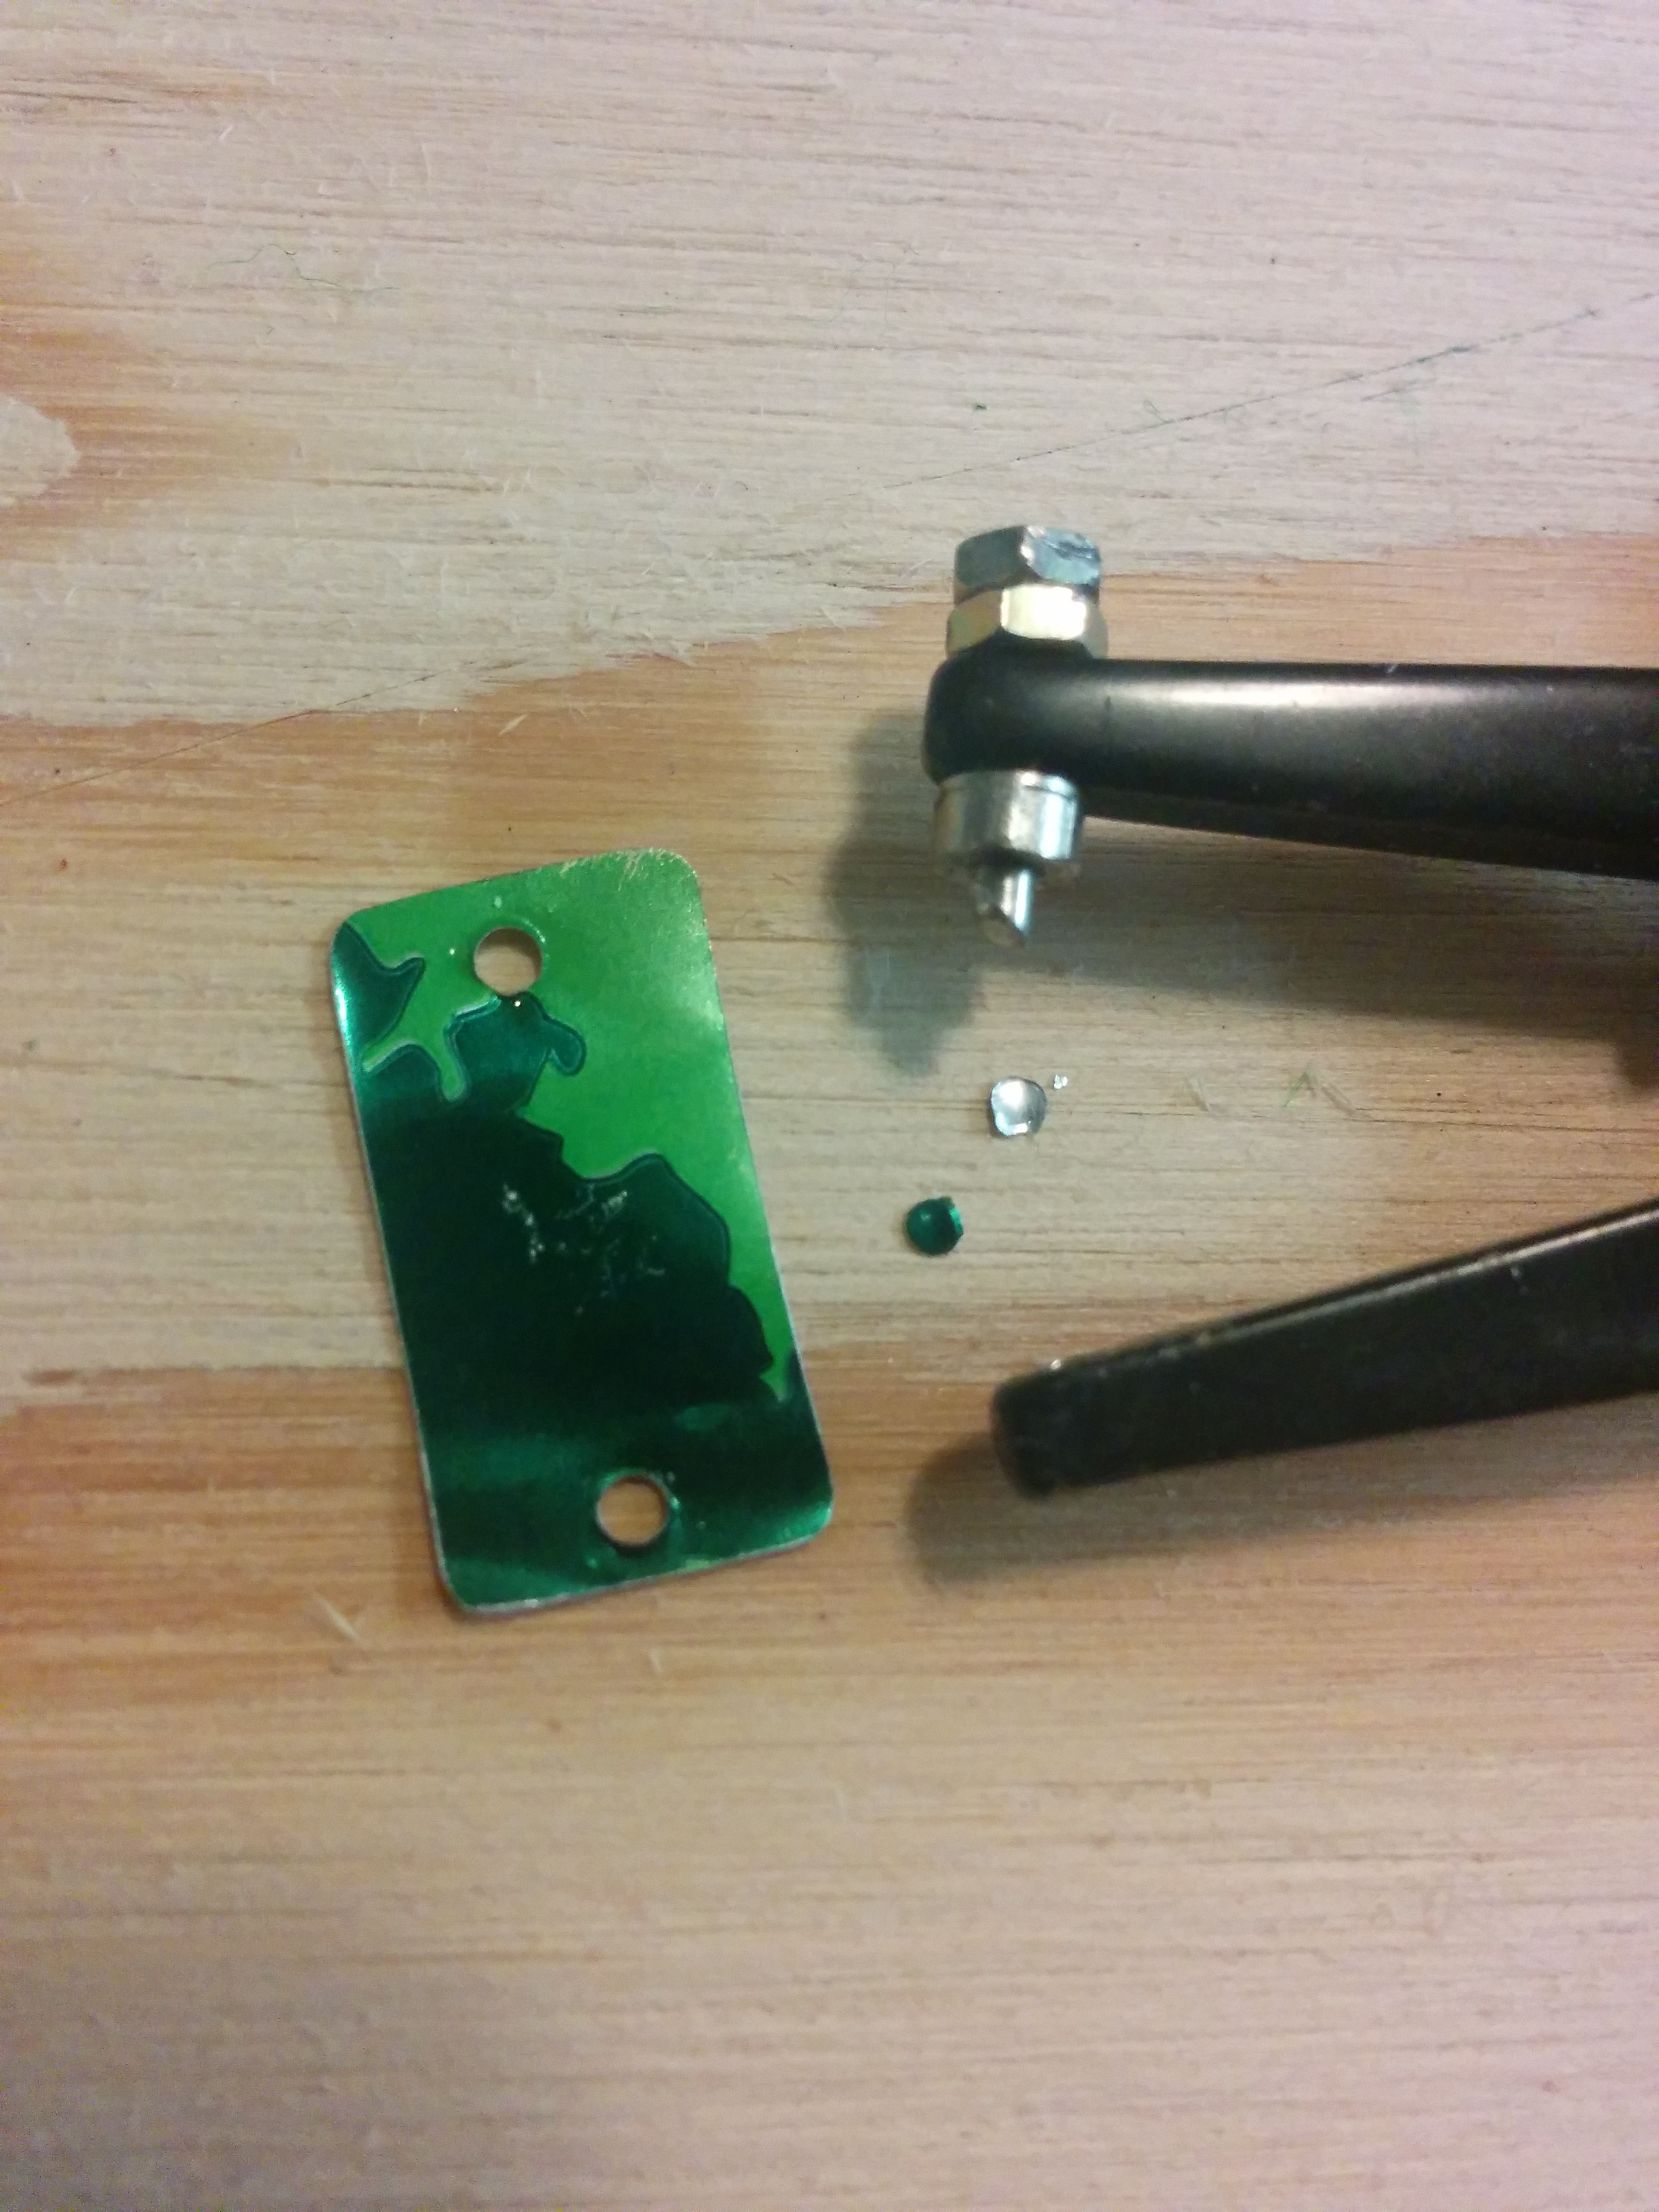
You’ll want to use the emery board or sandpaper on the corners and perhaps on the edges a bit. The last thing you want is to be constantly poked in the neck while wearing your snazzy earrings.
Now you’ll use the small hole punch to make holes for the jump rings. I just eyeballed where to punch. You’ll want the holes relatively close to the edge so there’s room to work in the jump ring. If you don’t understand what I mean, you will once you try it. And it’s ok to mess up a few times. (I still do!)
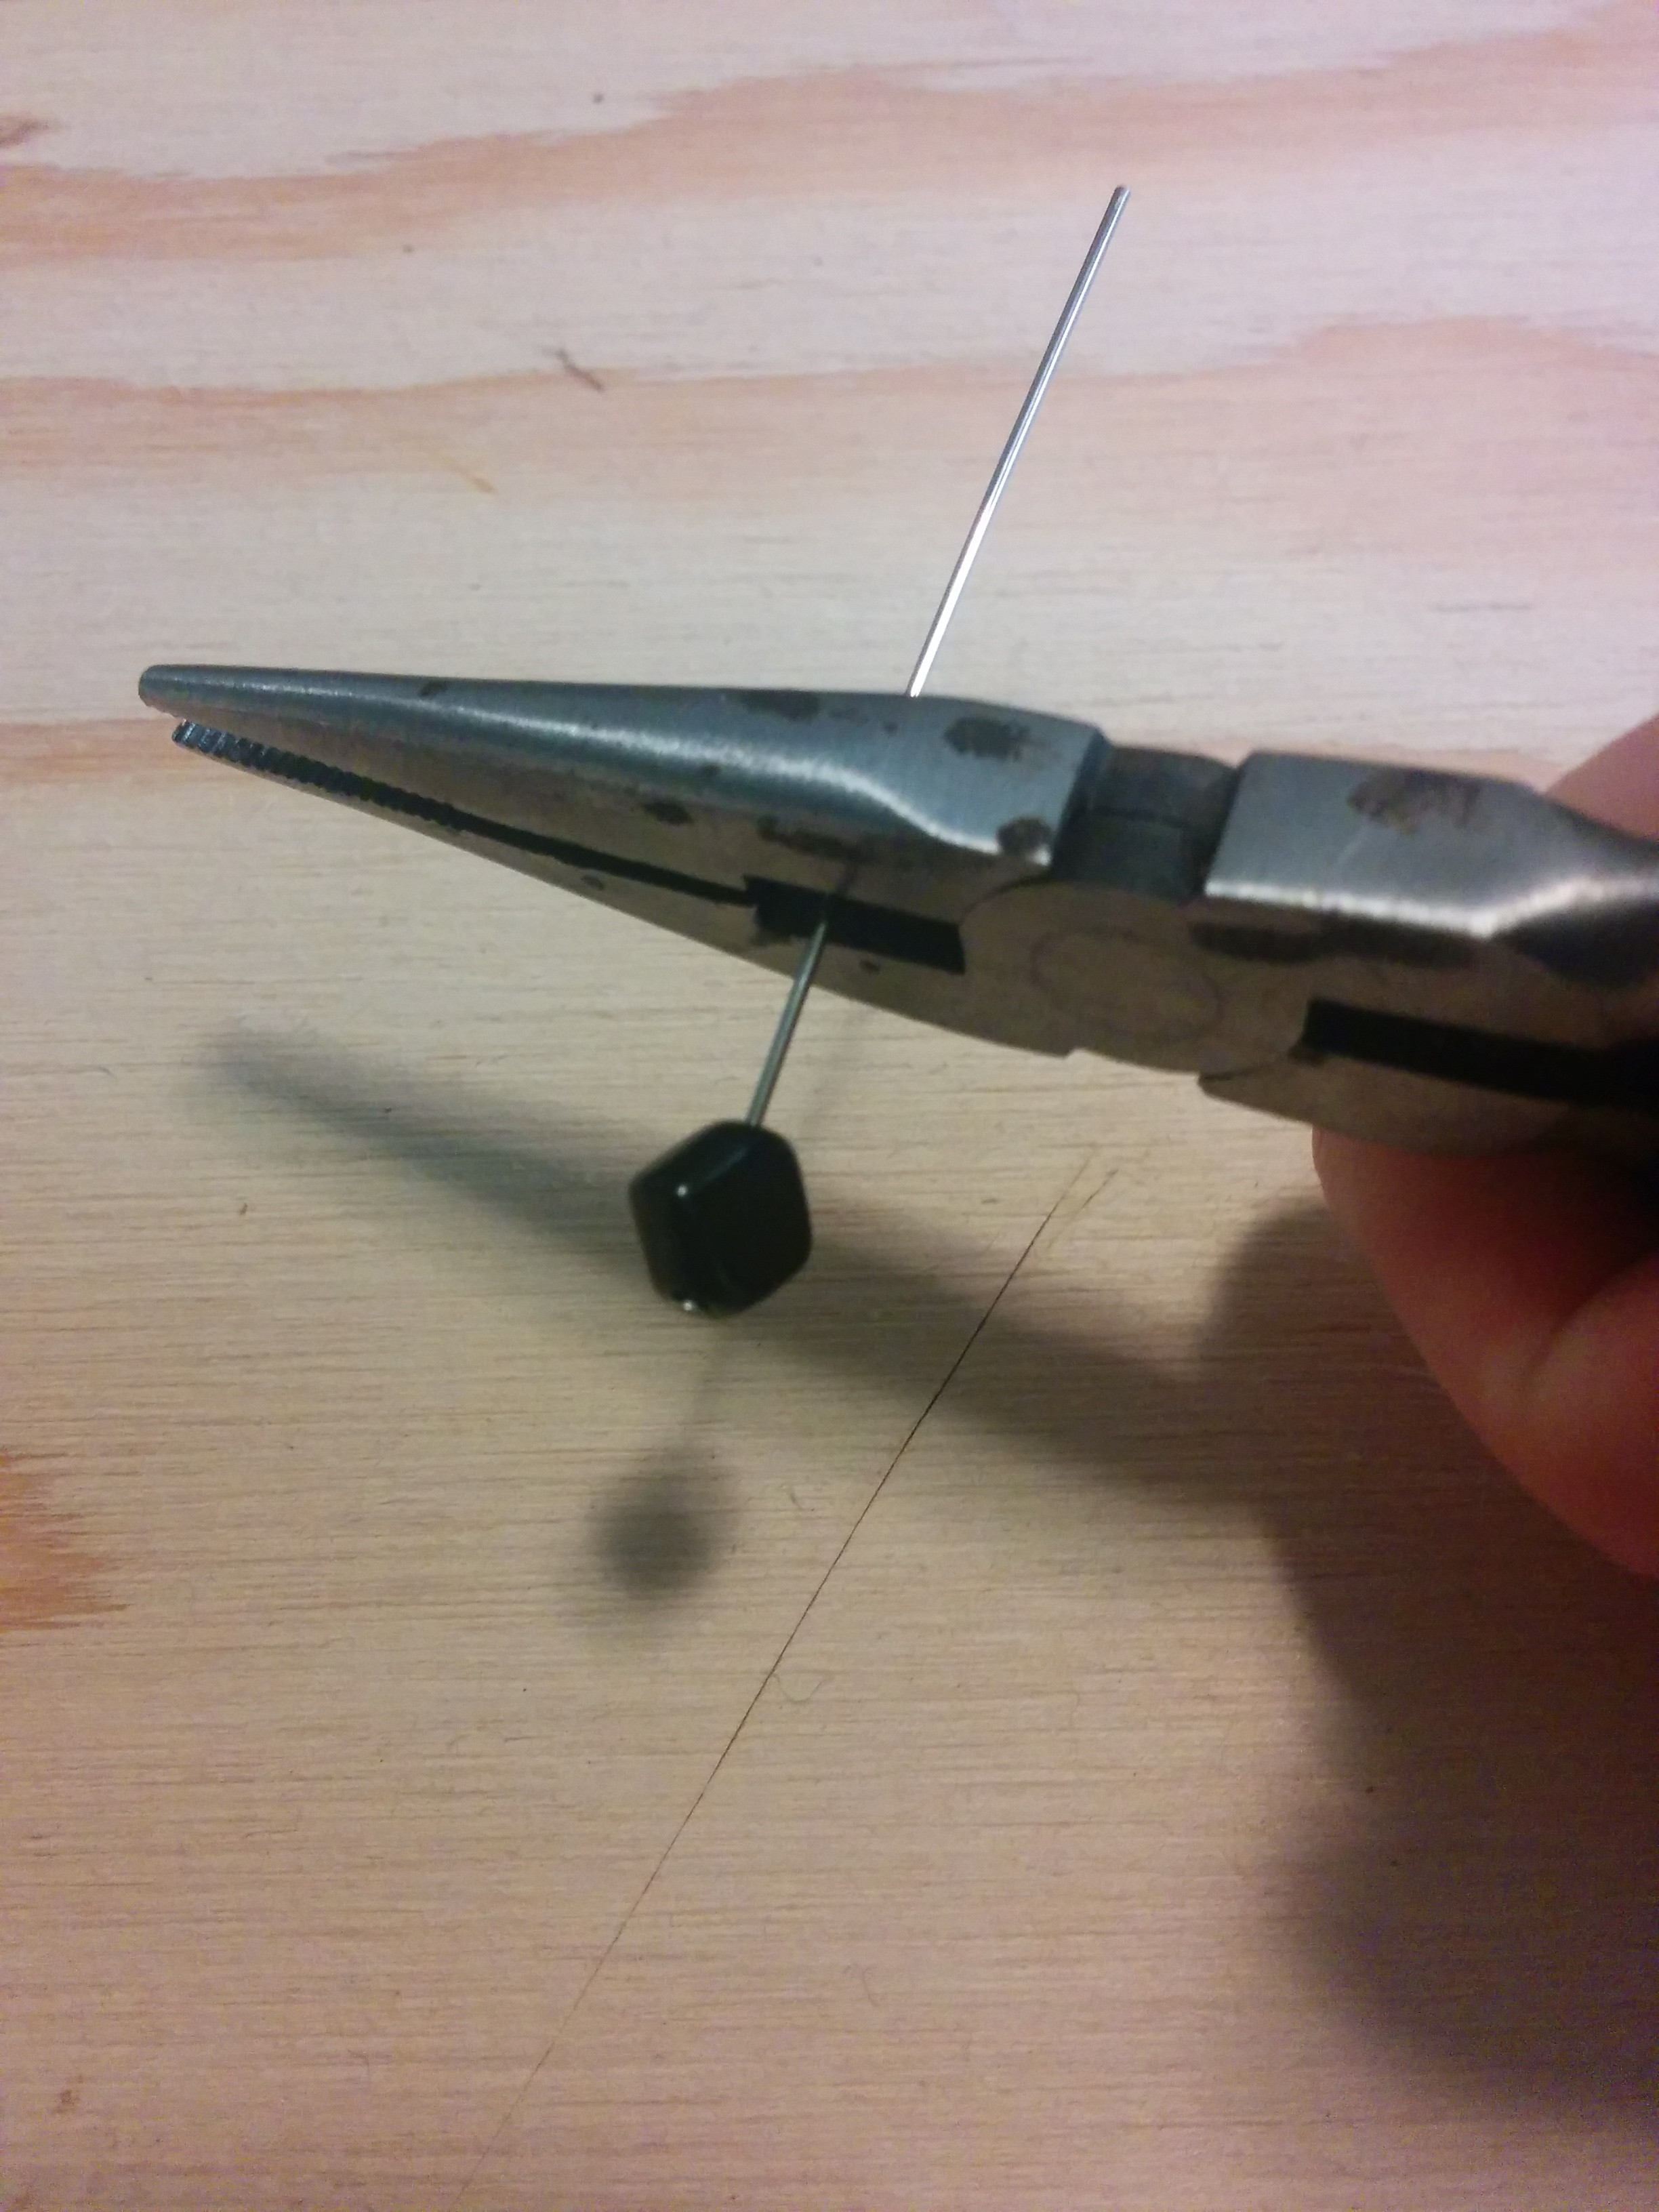
Next is adding some beads. I figured a biggish one or a few small ones would need to be on the bottom to prevent the earring from flapping around too much. I decided to stick to Surge colors for these.
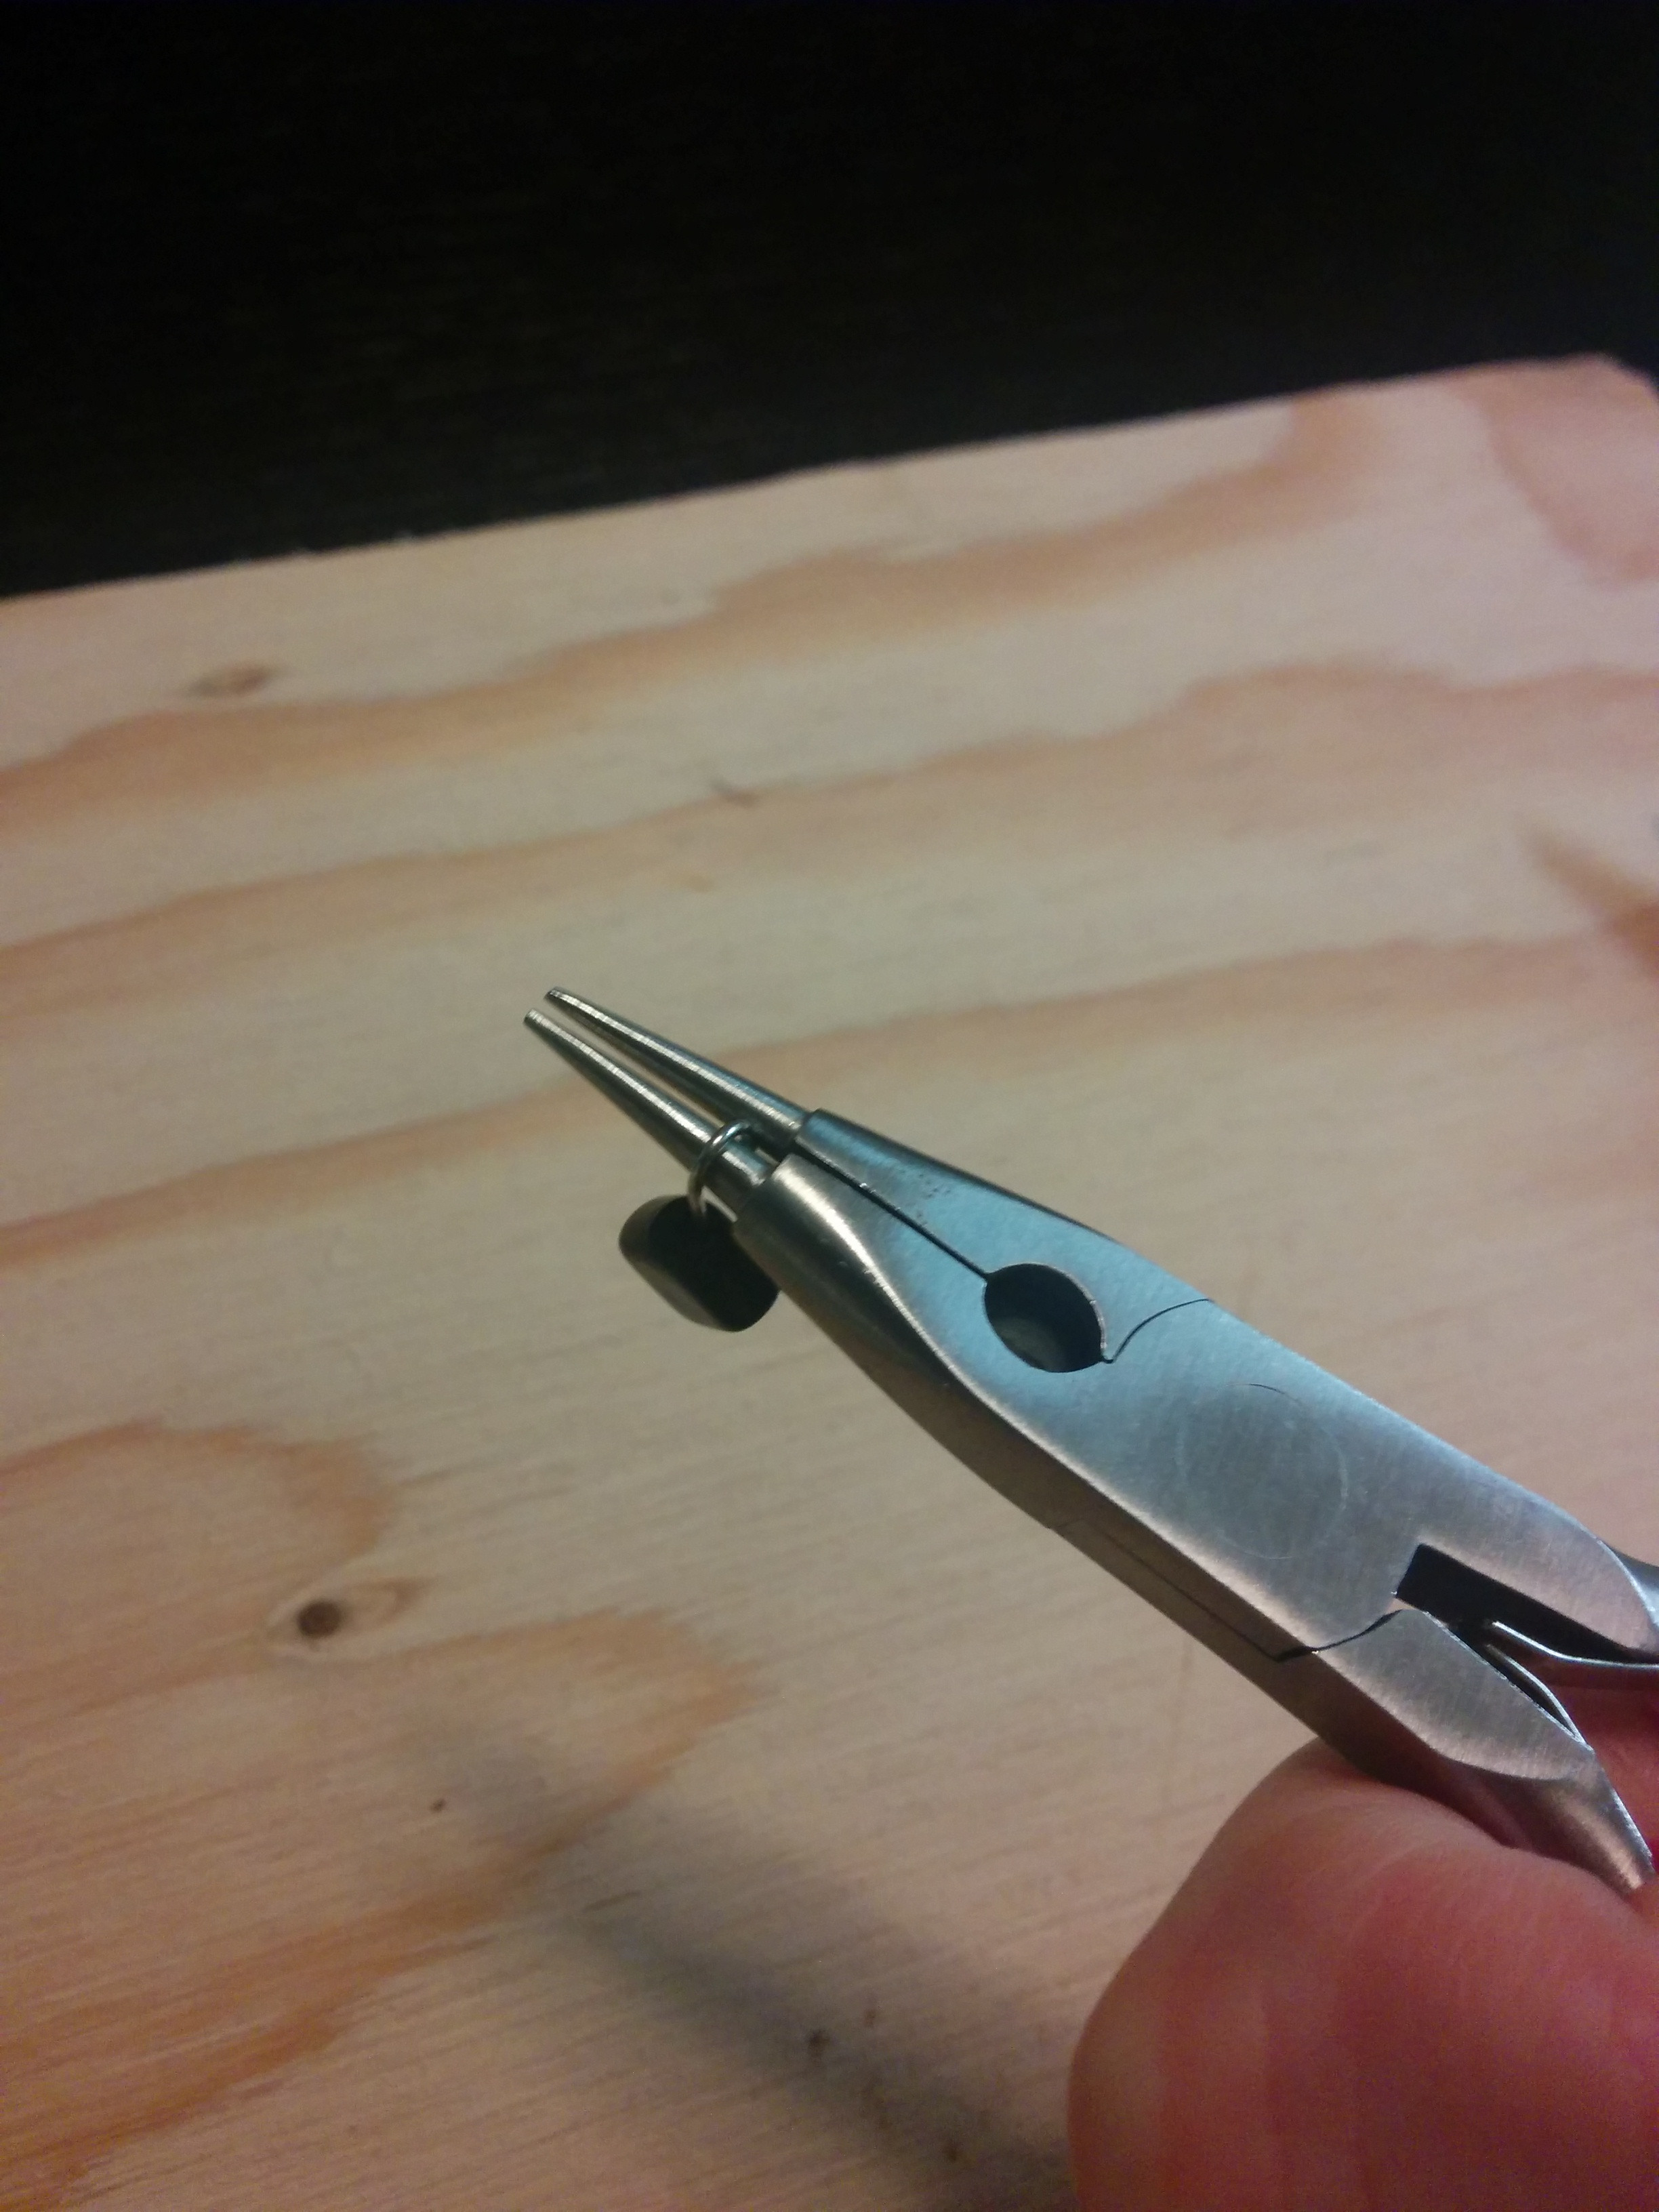
I used a headpin for the bottom bead. These have a little flat head to keep the bead on. You’ll have to cut off the excess then use the curling tool to make a loop. How much to leave on is also something I eyeball and will still get wrong a lot. So again don’t worry about messing up a few times. When it comes to making the loop that is something you will begin to “feel.”
There are pins that come with a loop on one side. For my green and red beads I used this, cut off the extra, and made the second loop on the other side.
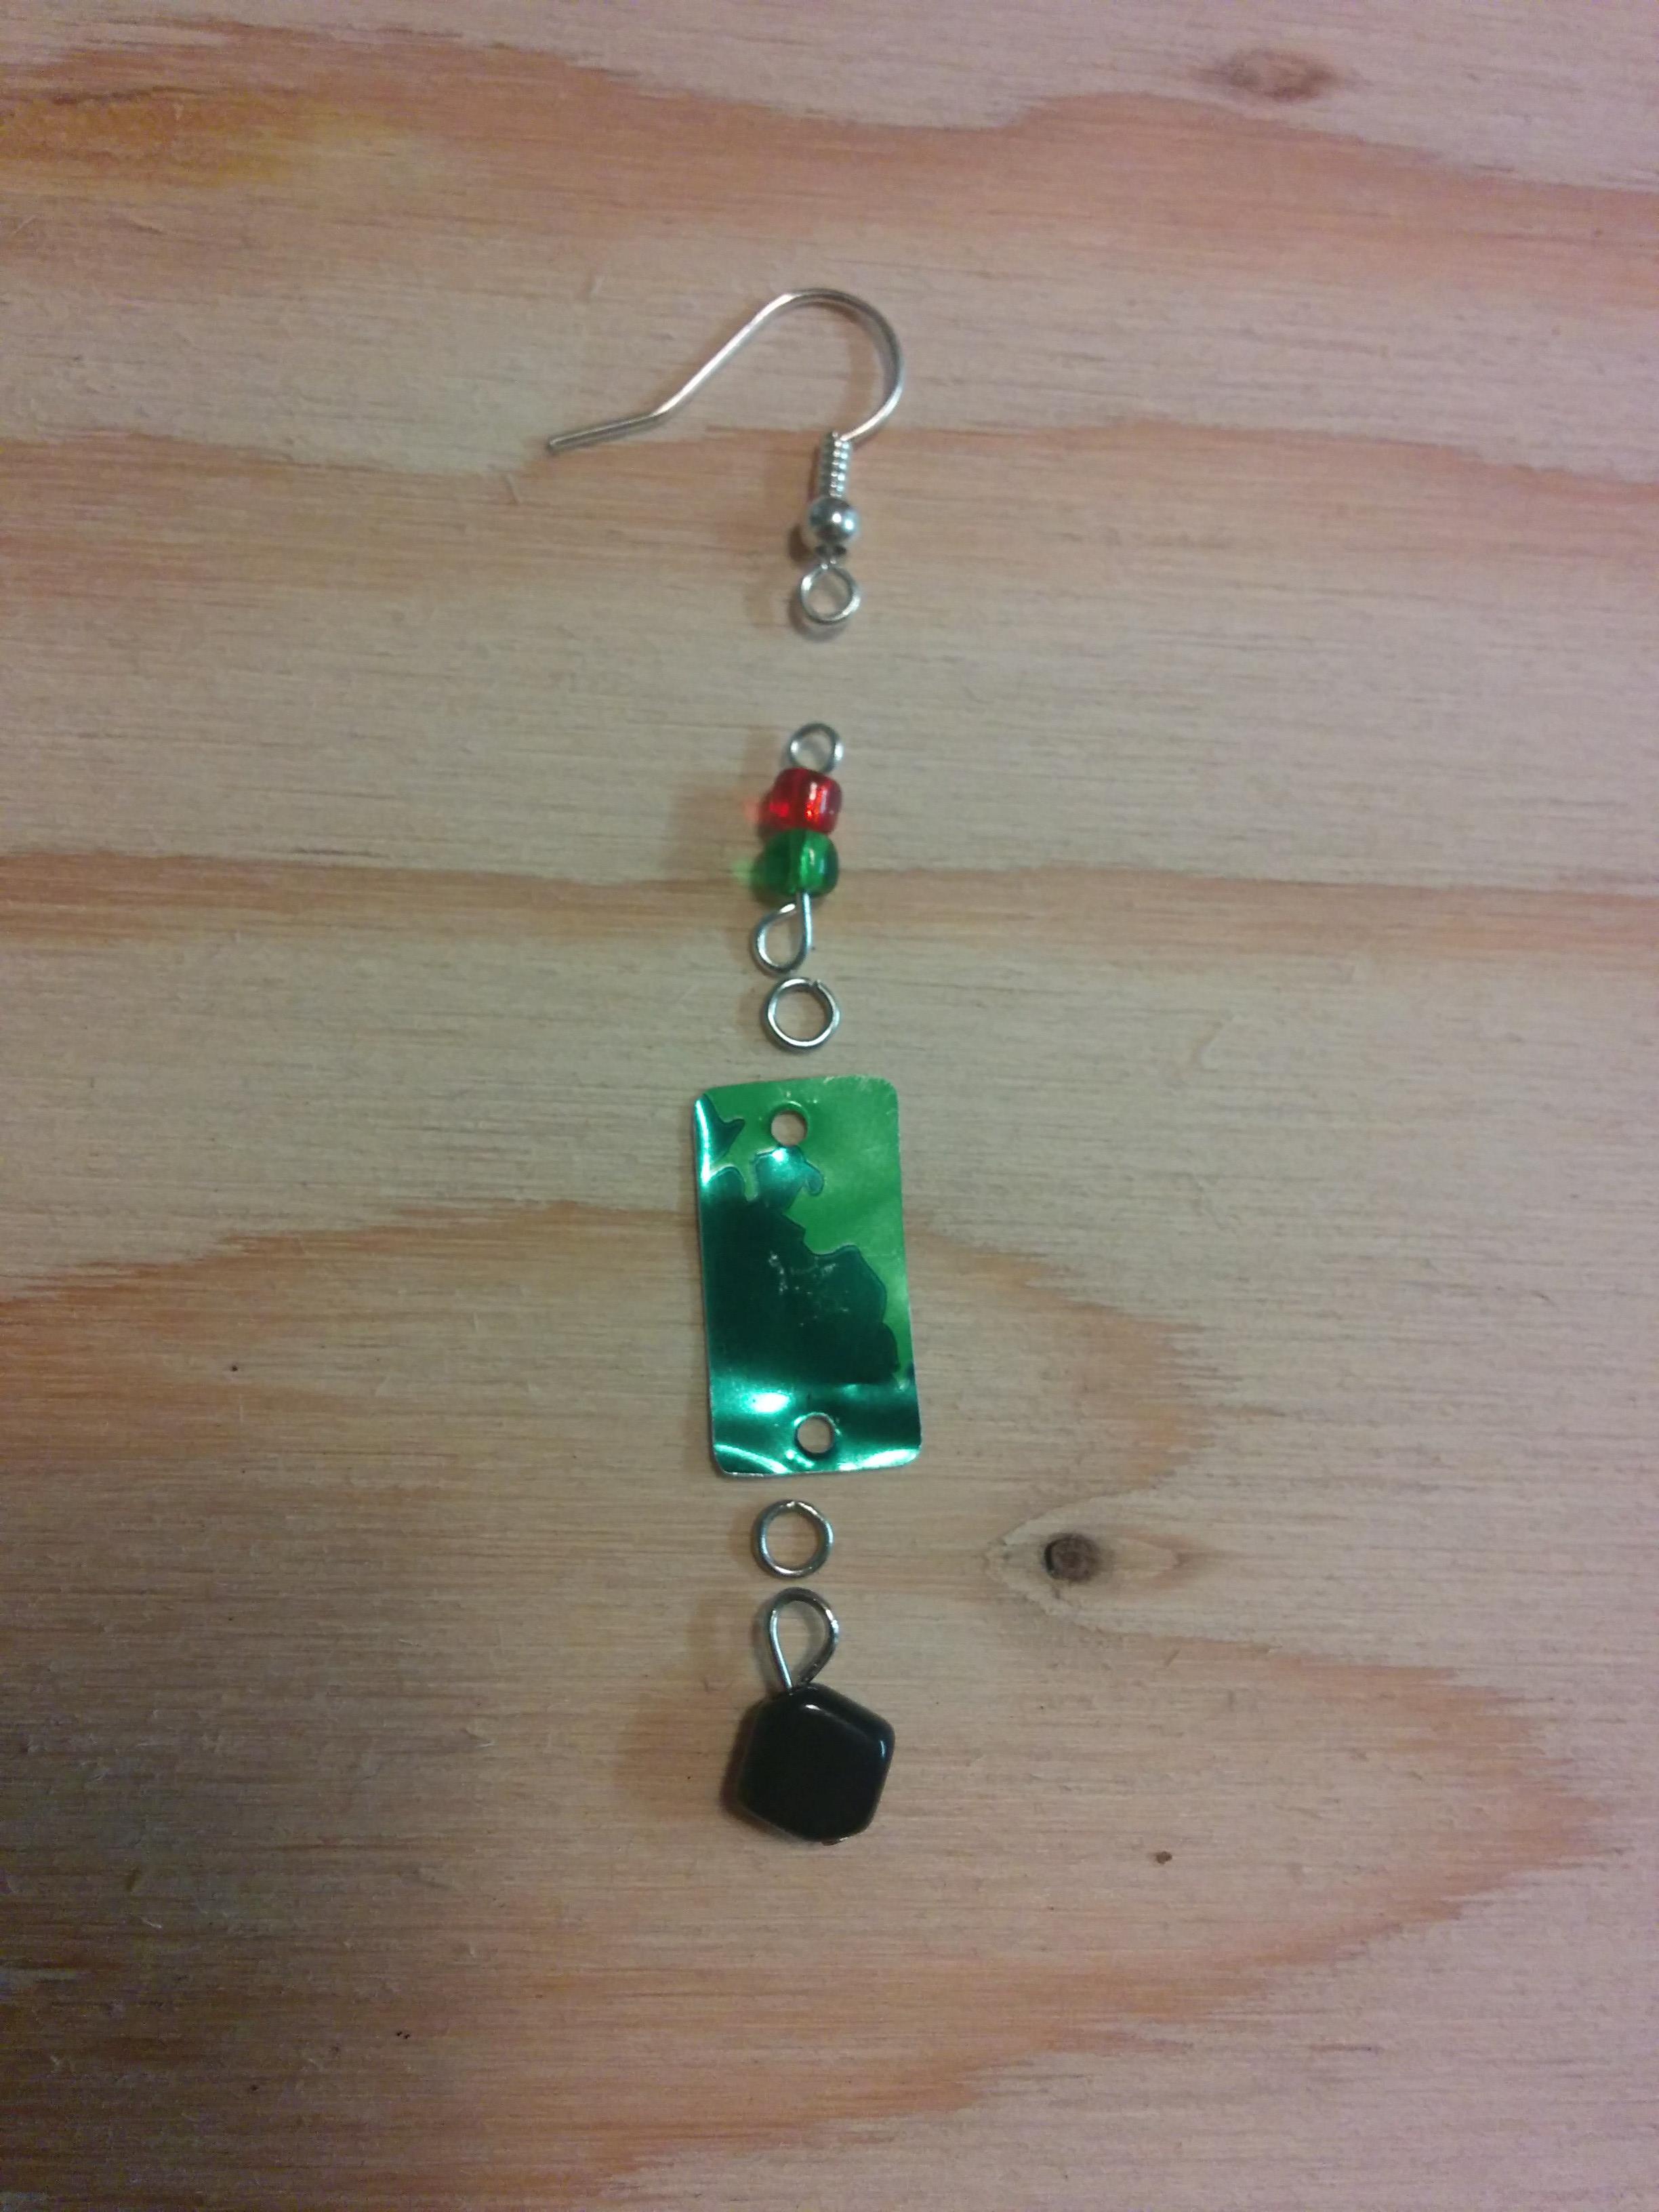
The picture on the right is the “blueprint” of my earring. Just connect everything together and you’ve got yourself an earring! Make a second one for a pair! What’s cool about the Surge can is that each earring is unique.
For the Bawls can I have only used the barcode and the inside of the can because I haven’t quite figured out what I want to do with those “eyes.” I want to get some different design hole punches to try out as well.
Not too bad, right? See what you can make! If you do make your own - post a picture. I love seeing how different people come up with different designs and ideas on how to go about doing something. Perhaps you’ve figured out a better way.
Bye!